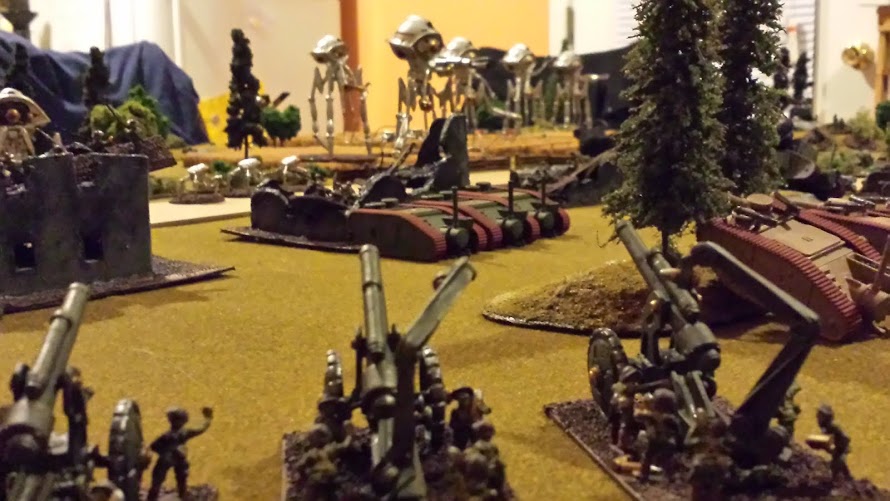
Herein I tell the tale of how I made these not entirely successful boards. I mean, they're ok, but there were some lessons learned that others might benefit from if trying to make their own.
Ok, let's get to it: I started with a sheet of mdf hardboard (the stuff the bottom of your dresser drawers are probably made of), which is cheap at Home Depot. Mdf is pretty thin but very sturdy and makes great bases for terrain. I had the sheet left over from another project.
Using a bandsaw, I cut them into squares and rectangles, and here made my first mistake.
Lesson 1: When making modular terrain, don't free-hand with the saw. I drew my roads on only after I cut everything up, and so I ended up with sizes that weren't entirely identical, and so don't fit together perfectly.
 |
| After the boards were cut, I drew in the roads of an appropriate size for the buildings. As you can see, the cuts aren't exactly even. |
Lesson 2: Cardstock isn't really thick enough for this. It turned out to be more or less unnecessary. I could just have glued on the strips and had pretty much the same effect. Further, the cardstock didn't take the paint and primer as well as the mdf did as you'll see.
 |
| A lot of unnecessary work went into this. |
1) Prime everything gray (automotive primer). Then, with an airbrush, I used two lighter greys to build up to a more "concrete" light gray on all sidewalk areas. I left the roads themselves alone as they are going to be totally different, but didn't worry about overspray either.
2) To do the roads, I used masking tape to mask the concrete areas, and primed the exposed roads black. Then, using a darker and then a lighter gray, brought it up to a more asphalt color. I made sure not to use too similar grays for this.
Came out ok...
 |
| Always nice to "test" your terrain with some posed shots... |
Well, sort of. The masking tape I used was not exactly artist quality. It was cheap, and very harsh on the painted paper, even pulling up the primer. While something similar happened when masking the roads later (for the lines), its notable that that tape only pulled off the airbrushed color, not the primer. Paper just doesn't hold it as well.
Lesson 2.5: Paper doesn't hold paint as well as hardboard. Oh, and use high quality masking tape on airbrushed areas.
 |
| Afterwards I had to go back in with a brush to cover these areas in an approximation of the airbrushed color. Needless to say, it's a bit blotchy. |
This needed to be done in two or three steps, as the double yellow is closer together than I can achieve with this tape in one go, and also to create sharp intersections.
Going in with the airbrush, I painted everything white. Yellow won't cover anything else. I thought I was able to more or less freehand with all that masking, but it turned out there was significant overspray from the airbrush.
Lesson 3: Tape should be at least .5 inch in width to prevent overspray.
And yet, even with the good tape, a lot of airbrushed paint came up when I removed it. The dark black below is the primer color which didn't come up.
Some boards fared better than others.
Once all the lines were painted, I went back in with a brush to do corrections. I didn't try to cover all the mess, and as it happens it makes some areas look damaged, like a real road. Kind of a happy accident. Then I brushed on a lighter shade of grey for the thin curbs to bring them out. The result is below.
 |
| Final product. It's more or less adequate. |
Lesson 4: Measure better. I just threw the uneven pieces together, drew on roads and went with it. That means that the final product is somewhat less modular than it should have been, as not all the sides fit together without gaps. If I try something like this again, I'll spend far more time on the planning phase.
 |
| A city! Time to blow it up... |


