

Now, the more I play Battletech, the more I love it. After this excellent game, there's even talk of a campaign down the line... but we'll see. If we do that I'd feel the need to have my own minis (normally we use Fritz's extensive collection) and upgrade the terrain and that's a whole other bag of worms.
For today we decided to go pretty big and at my request, Fritz brought some tanks and infantry along. I've never played with either, as it's usually just mechs slugging it out.

Scenario: Two mercenary companies are fighting a proxy war (for deniability purposes) on behalf of two great houses. One (Fritz) has been hired to capture a Star Port intact, as it is the only site on the continent reinforced enough to handle drop ship landings. Therefore, the orders are no breaking through buildings or wanton destruction, just clear out the defenders. The other company (mine) has been quietly slipped onto the planet to prevent the loss of the important port.
Given that no destruction is allowed, only infantry can hold the buildings. As infantry only move 1" per turn, we decided to say that Fritz's infantry are in unarmored trucks, which move 4" per turn but offer no other protection or weapons.

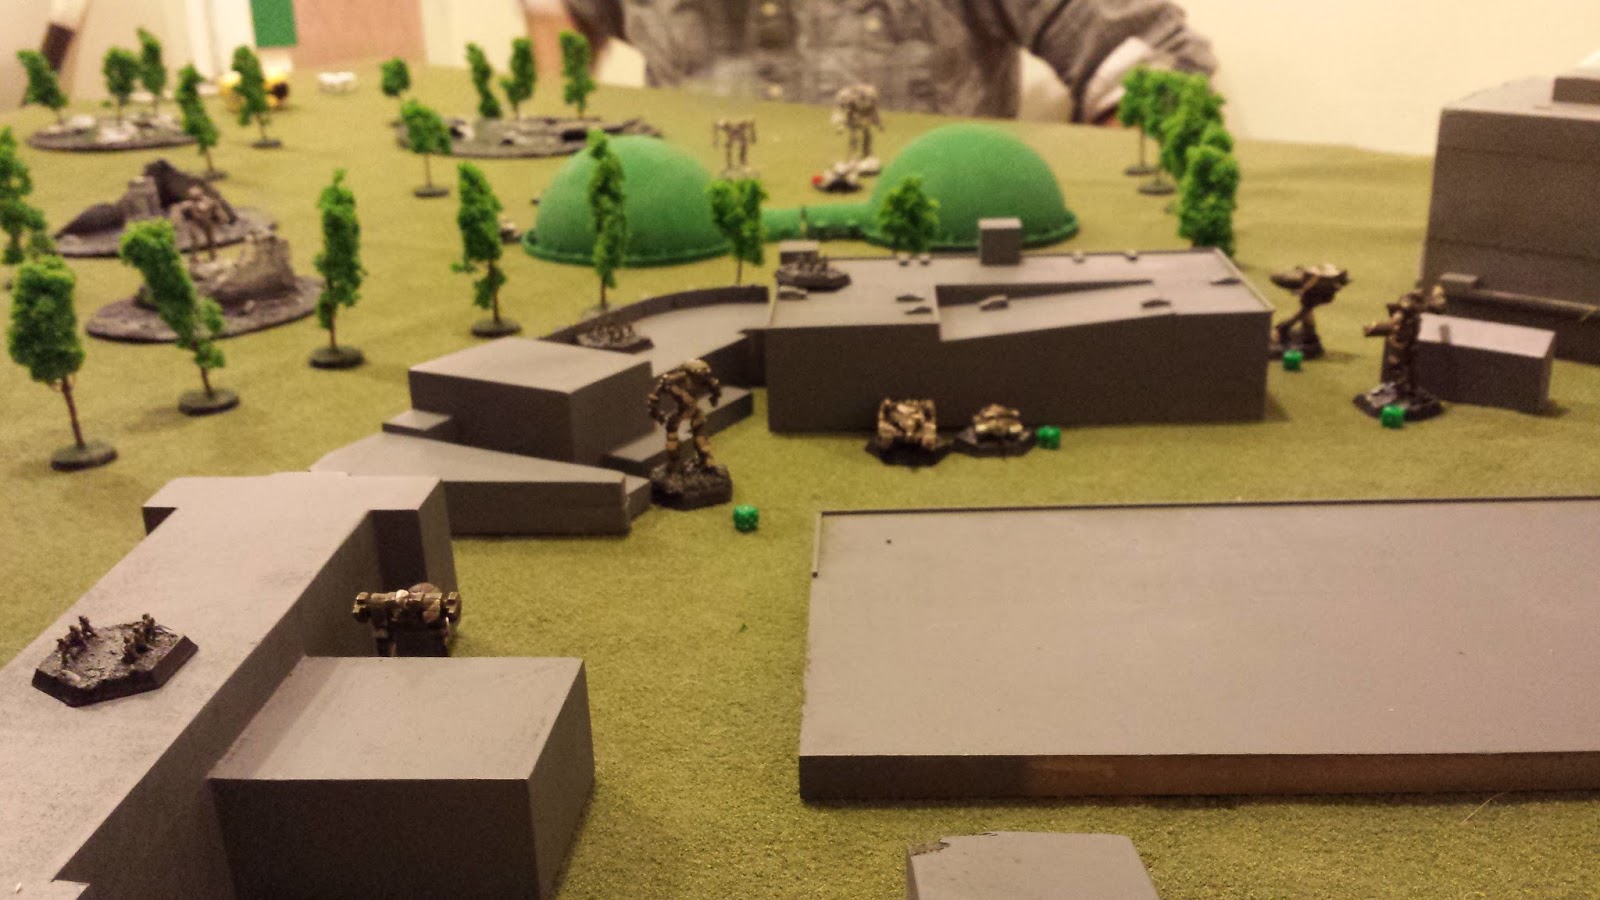
I arrayed my lance of four mechs and my two tanks behind the buildings, hoping to force Fritz to get in close. Most of my mechs were more effective at short range, so I needed him to move in. The infantry stayed on top of the buildings, representing them as being inside and in cover.

The enemy approaches. Fritz kept his big Atlas on the right, and left his two light mechs to escort the infantry at center to cover before moving off to my left flank.

The first few turns say only some long distance pot-shots that did little.

Slowly, the enemy closed on the spaceport, Fritz's assassin mech breaking off to the far left, trying to force me to split my forces.

It was clear that Fritz's heaviest hitters were approaching on the right. My two heaviest mechs, a heavily armed Stalker and Orion supported by tanks on top of the parking garage, waited to meet them.

Going for a quick kill, Fritz fired at the Scorpion light tank, the unit most equipped to threaten his approaching infantry.

Skillfully using cover to screen his line, I had limited opportunities to return fire.

Figuring that the tanks would be most useful in the endgame against infantry, I pulled them out, hoping to preserve them until it became an infantry fight.
Fritz was playing conservatively, trying to draw me out of the Star Port with long range fire that was difficult to answer. My cover typically blocked line of sight entirely, preventing any fire, while he managed to find cover behind the green tanks that he could shoot from and benefit from at once. I took a chance, and advanced my Stalker (heavy) and Orion (medium) mechs out of the base to try to get Fritz to commit to a closer range battle that I could win.
It was probably a mistake, looking back on it, as if I was more patient, it would have forced Fritz down a very narrow channel if he advanced. But I knew he wanted to draw me out, and by springing his "trap", I forced him to make a choice.

Using the green tank thing to block line of sight to his smaller Jagermech, I brought my Stalker and Orion up close and personal with the Atlas. Would Fritz charge in with his Atlas for personal glory, or would he wait and try to take me apart piecemeal?
In the first exchange, I took some damage on the Orion, but thankfully the Atlas's formidable Autocannons (20) missed.

Meanwhile, Fritz tried the approach with the light mechs on the left. My tanks moved to meet him, and the heavy Patton tank managed to hold this section more or less unaided.
I think I like tanks in Battletech.

The tanks managed to force Fritz to retreat on the left. Once again, he was hoping to draw me out, but this time I wasn't going to take the bait.

On the right Fritz made his choice, and it was the Fritziest of choices - go for the personal glory! His Atlas charged up to point blank with the stalker and unloaded everything, heat be damned. At point blank, the autocannon 20s blasted through the center torso and into the internal structure, but thankfully no critical hits. The 100 ton Atlas then resorted to fist-a-cuffs, which on a mech of that size is nasty business.

At the end of the round the Stalker had lose half its internals in the center, and had 4 armor points remaining on both the left and right torso from the punches. My heavy mech (and commander) was in serious trouble.

The return fire from the Stalker was nasty, but spread out. The biggest hit was with a large laser to the Atlas' head, destroying most of the armor but not penetrating into the cockpit. Still, I felt it necessary to back off on that flank, and keep out of range of the Atlas' punishing fists. As he advanced, I had been slowly gathering my entire lance to hold the right side, leaving just tanks to hold off the light mech on the left.

My four mechs leveled their guns on the Atlas, but the first shot from the Orion (on the right below) got lucky and hit the giant mech in the head. That shot alone wouldn't have been enough to take out the pilot, but after the Stalker's hit the previous round it was more than enough. The enemy commander went down in a spray of blood along with its most powerful mech.

Losing your big gun is a dangerous psychological moment. It feels like such a blow, and it can distort the situation on the table. My Stalker was hanging on by a thread, and so my thought was to pull it back and hold the line against Fritz's three remaining mechs with three of mine, keeping the big mech in reserve. But rather than trying to finish off the Stalker Fritz pulled back.

His hope was that I would tentatively follow him out into the open with just a couple of mechs, giving him an opportunity to even things up. Not going to happen.

If I'm going to counterattack, I'm going to do so with everything.

Surging forward with my whole force, orders went out to distract his mechs so the Jenner and tanks could get at the infantry. But with the loss of his commander, and seeing the advancing wall of metal, the attacking mercenaries decided that they'd taken enough losses for one day and gave the order to withdraw.
A solid and dramatic game!

BT was and is a great game, especially in its original form where heat is an issue. Nice AAR and good work taking the Atlas out, not an easy thing to do as I recall.
ReplyDeleteI fully admit, I got very lucky with that head shot. If the Atlas had a chance to shoot again it probably would have taken my Stalker down with it. I played once or twice when I was a kid, but loving it now.
DeleteIs this standard BattleTech minus the hex map? Or is it Alpha Strike....though it doesn't read like Alpha Strike? 😊
ReplyDeleteYeah, we just use inches instead of hexes. I like 3D terrain.
DeletePersonally, I prefer the classic to Alpha Strike.
Not tried either yet but I'd certainly go with the classic game but on 3D terrain. It looks so much better and way more immersive.
Delete