


This is it, the last stand of the Nationalist defenders, commanded by Jamie. The Lincolns, thus far on a steady run and well-ahead of their time table, have won every engagement, however a Nationalist ambush in the town center near destroyed their lead platoon. A fresh platoon has moved up to finish the job so honorably started by Lt. Monroe, who died of his wounds before reaching the medical station.

The patrol phase did not seem to favor either of us, more or less ending up in a straight line.

I took jump off points on each flank and in the main building complex at center. However I suspected that the flanks would see the most action, as the were walled approaches on each side. On the left was a high wall, difficult to cross, while on the right there was a low stone wall that offered cover, but did not present an obstacle.

Meanwhile the Nationalists, a core of regular infantry supplemented with armed villagers (hence green), set up their jump off points to the rear of the church. While green, they are also diehard for this scenario only, meaning they take no shock and must be killed to a man. Fanatics!

And one at the front in the covered portico.

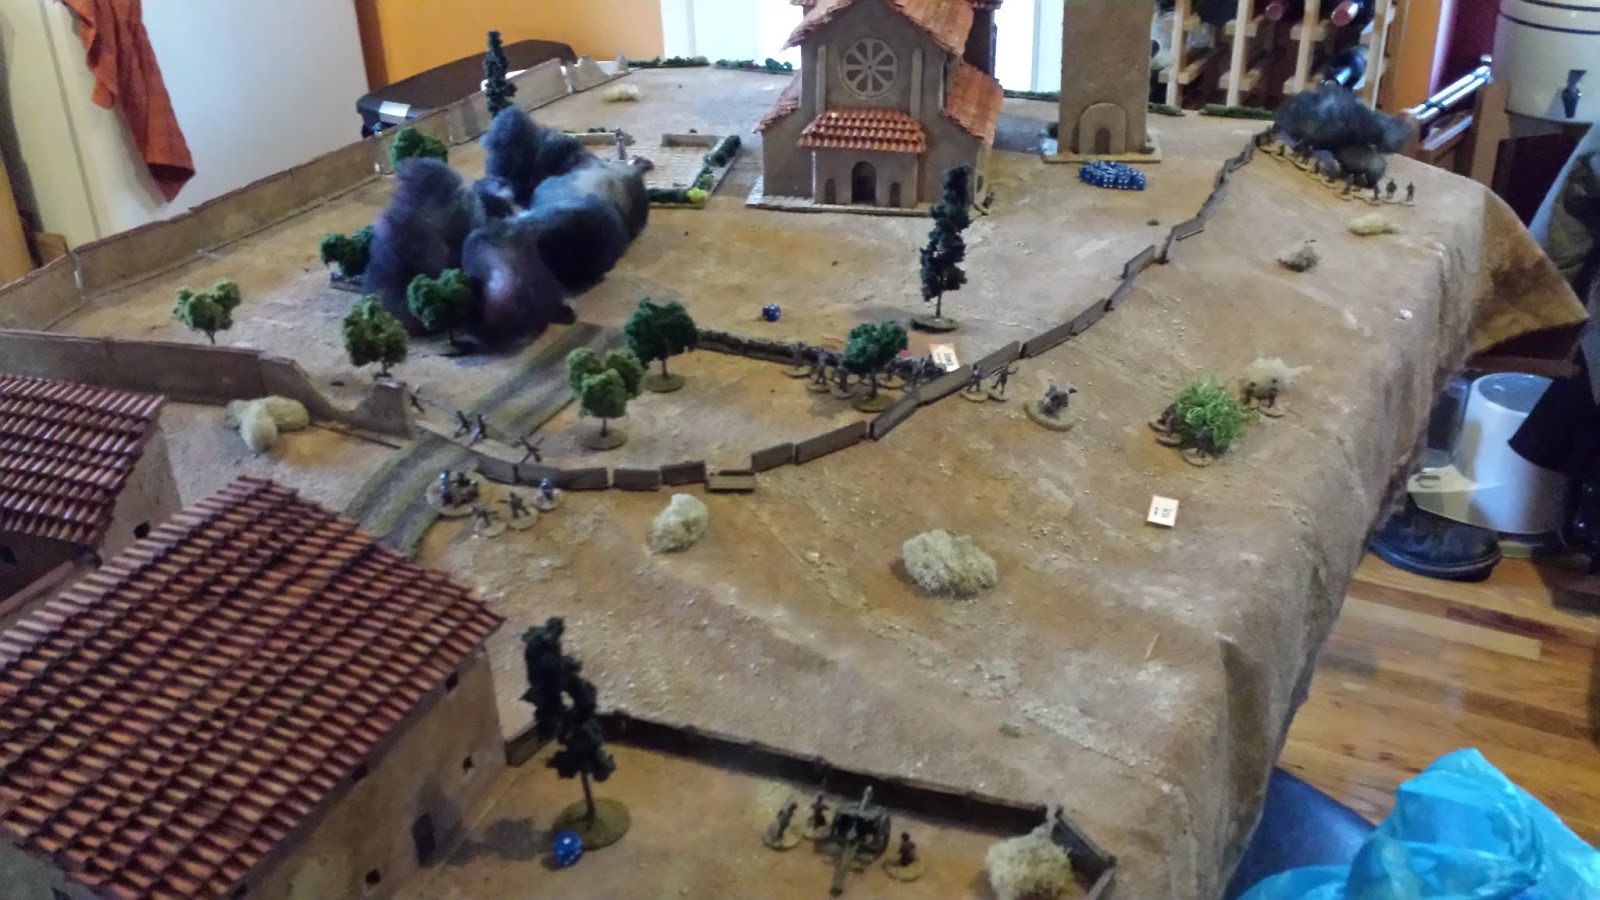
The fight begins!

Having an extra point for support, Jamie put barbed wire at the main entrance, which was actual more effective than I thought it would be.

My first deployment was a machine gun team in the building, covering the front of the church on overwatch.

However, on Jamie's first roll, he came up with four sixes, and as a random event, the orchard in front of the church caught fire! A column of smoke blew back towards his table edge. On the one hand, this would give us persistent cover all game, but on the other my machine gun team was utterly blocked and could no longer see a thing.


With my machine gun out of position, Jamie was free to deploy his own in the broken rose window.

A Lincoln field gun rolled up on the right, hoping to suppress the enemy gunner.

Shots were taken, but nothing got through the bunker-like facade (we treated it like a bunker, which the field gun made "hard cover").

The return fire was terrible, and several men fell.

Worse, an enemy sniper appeared in the bell tower (where else?), and laid down some accurate fire as well.

As my first section came on the board in support of the field gun, the sniper took out the sergeant, killing him.

An enemy section came on to the left, perhaps hoping to make a flanking maneuver using the smoke as cover.

My own section began cautiously moving along the wall towards the church's right flank.

The second Nationalist section, a mix of soldiers, civilians, Guardia, and Requete militia, moved to engage on the right.

Meanwhile, the section on the other side of the church made a run for the smoke.

Fire was exchanged, and as although attacked from several directions, the Lincolns came out ok. They were firing, after all, on a green section caught in the open!

But while I whittled down the enemy, losses were inevitable.

The sniper continued his harassment.

Not my flag-bearer!

With one team laying down covering fire against the rose window, and the LMG team holding back and engaging the enemy making for the smoke, the section was strung out into teams, a dangerous move. The lead team was far from any help, but the commanding officer boldly went with them to keep them calm under fire.

But that's what I needed - the lead team was far enough forward for a bold move. Moving up my jump-off point as far forward as possible with a CoC die, I was able to deploy my second section right into the middle of the action.

The section making for the smoke immediately took the brunt of the fire.

On the right, the isolated lead team, with the leader along with them, was a tempting target, and the Nationalists began to cross the wall to catch them in the open.

And slowly, but surely, the machine gun team worked its way out of the building, and towards a position where they could actually fire at the enemy.
In one of those quirks of fate, one lone female soldier refused stubbornly to die. So many shots against her, so many misses. The rest of her section was pretty much annihilated however.

There was serious trouble on the right now. The largely undamaged enemy section had partially crossed the wall and throwing fire on my men, unprotected now by the wall.

The rest of my men were busy trying to finish off the crazy lady standing in the open and shooting at her. If she wasn't a fanatic, she would have broken many times over from the shock, but with diehard... I needed a kill.

I pulled back my men on the right, trying to get my men into a firing line, but the lead team was pinned (the leader pulled back to the larger section)

Finally, the rest of the enemy section on the left was shot down, although the lone woman still remained. Jaime, becoming overconfident, began taunting me about how she was invincible. I was starting to think he might be right...

Moving the field gun slightly, the Lincolns were able to begin firing down at the men who had crossed the wall.


And still, the woman remained, not even bothering to take cover.

And then, it happened again. Jaime rolled four 6s, and another random event. This time, it was a random mortar barrage, and as luck would have it, it fell on ALL of my men.

Thankfully, casualties were fairly light, and the barrage almost immediately ended.

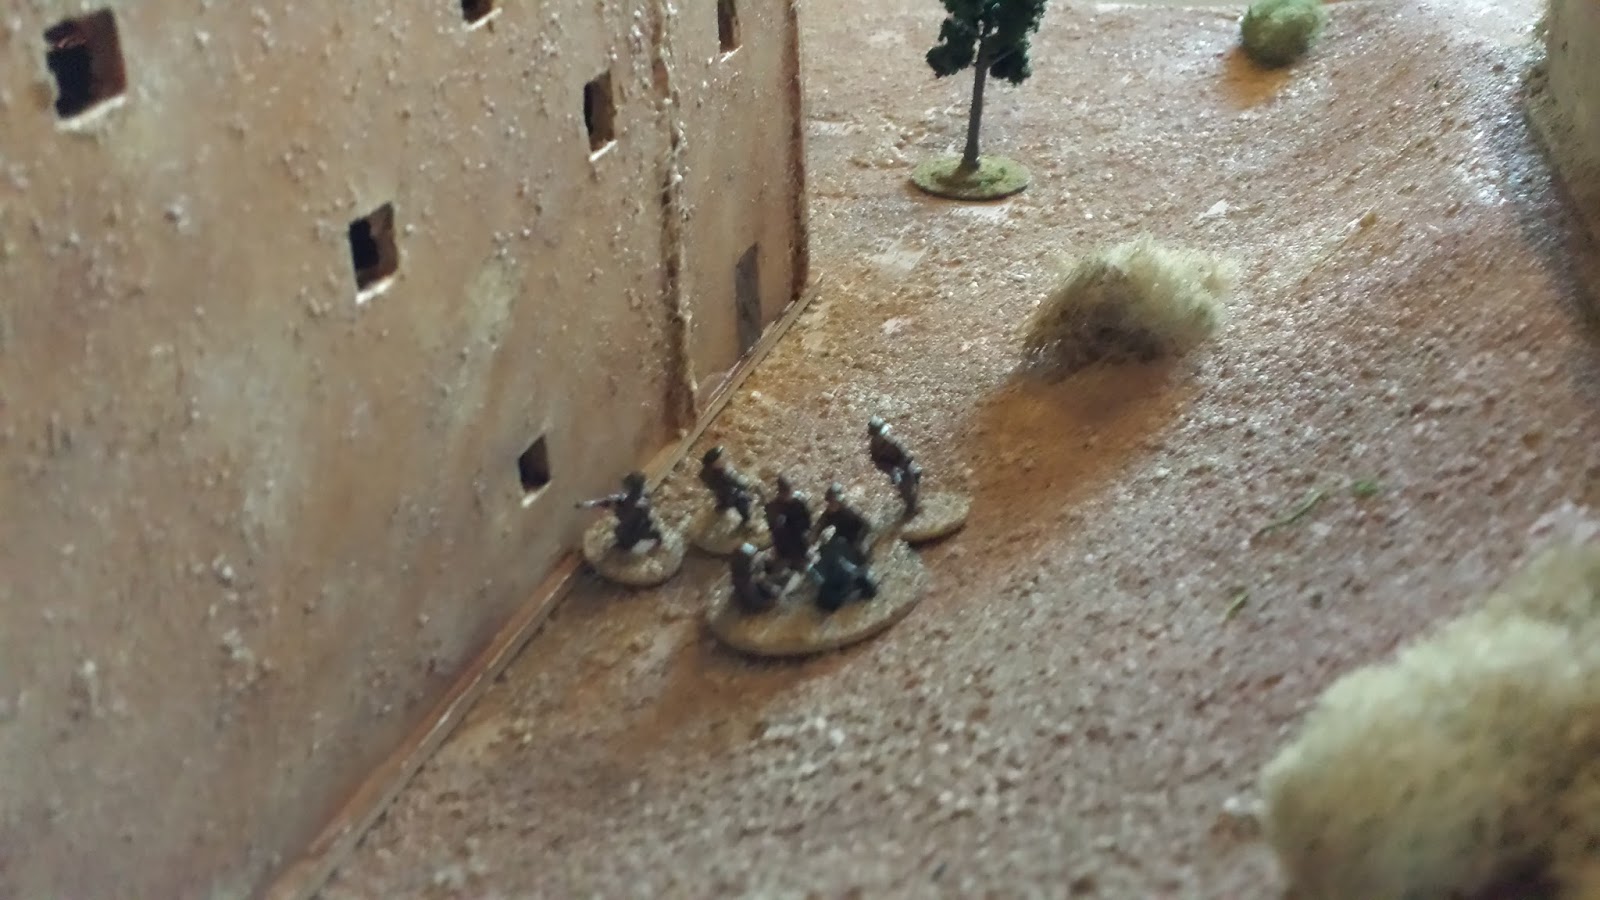
Meanwhile, the machine guns finally caught up to the battle, and working their way up to the barbed wire, opened up. Sorry for the blurry shot.

And in a hail of gunfire, the crazy lady went down.


The fire was decimating to the enemy, untrained as they were. They were thinning out badly. My own men were in fairly rough shape as well. At one point, I nearly pulled out, as the diehard thing only lasts for one game, so they would just be green next time, and near decimated. But I decided to stick with it, and see if I couldn't finish them off in a sweep.

With the machine guns now firing at the enemy, and the infantry supporting them, it was only a matter of time.

Jamie's morale after losing the crazy lady, had fallen to 4.

Mine was just above that, at a 5.

But with a leader soon after hit, the enemy morale fell to a mere 2. Yet the fanatics fought on! They knew that if they broke before I got to the church, I'd have to try again.

The final showdown began on the right.


Meanwhile, I broke a detachment off and rushed them forward to the church, taking the enemy's jump off point and holding the objective. Further, I was out the machine gun's arch of fire!

In the same turn, my guns opened up one last time...

And caught the enemy commander! A lucky shot!

With that, the enemy morale fell to zero, and as I had a team at the church, it cut off their escape into the interior. The surviving Nationalists had no choice but to throw down their weapons. A Lincoln victory, and more than that, a straight run of 5 games! With that, the Lincolns manage to mop up all resistance in the town in only 2 days, rather than the 3 demanded by General Gal. If the rest of the Zaragoza Offensive goes this well... but what's the likelihood of that?

Hope you enjoyed it!

Hi,
ReplyDeleteCommented back in march about your Quinto campaign and have just finished reading the whole thing--brilliant! Plan on reading it thru a second time as would like to try this out as a solitaire mini-campaign in Advanced Squad Leader. Is the PDF of this ready to go? Would love to have a copy of it if possible.
Thanks for posting a fantastic set of battle reports!
Thanks! I do have the finished pdf but have been lazy when it comes to finding a way to host the file. Email me at Primalucem@gmail.com and I'll happily send it to you.
DeleteAm just now seeing your reply! Email sent.
DeleteFantastic campaign! Really enjoyed your research, characters and playthroughs. I’ll drop you an email about the pdf too
ReplyDeleteHello. This is fantastic! Just found this site looking for SCW resources in preparation for starting a similar project. Would love to get a copy of the pdf. I realize a couple of years have passed, so wanted to check here before dropping you an email. Is it still available. Brilliant work. My head is full of inspiration! Thanks very much.
ReplyDelete