


The river down the middle of the board made things interesting, effectively dividing it into two halves. My tentative plan was to go hard on the right side. For support, Fritz took a mortar team (intending to hunt my own mortar teams with it), and I took a second mortar team and a Universal Carrier with a Bren team and junior leader.

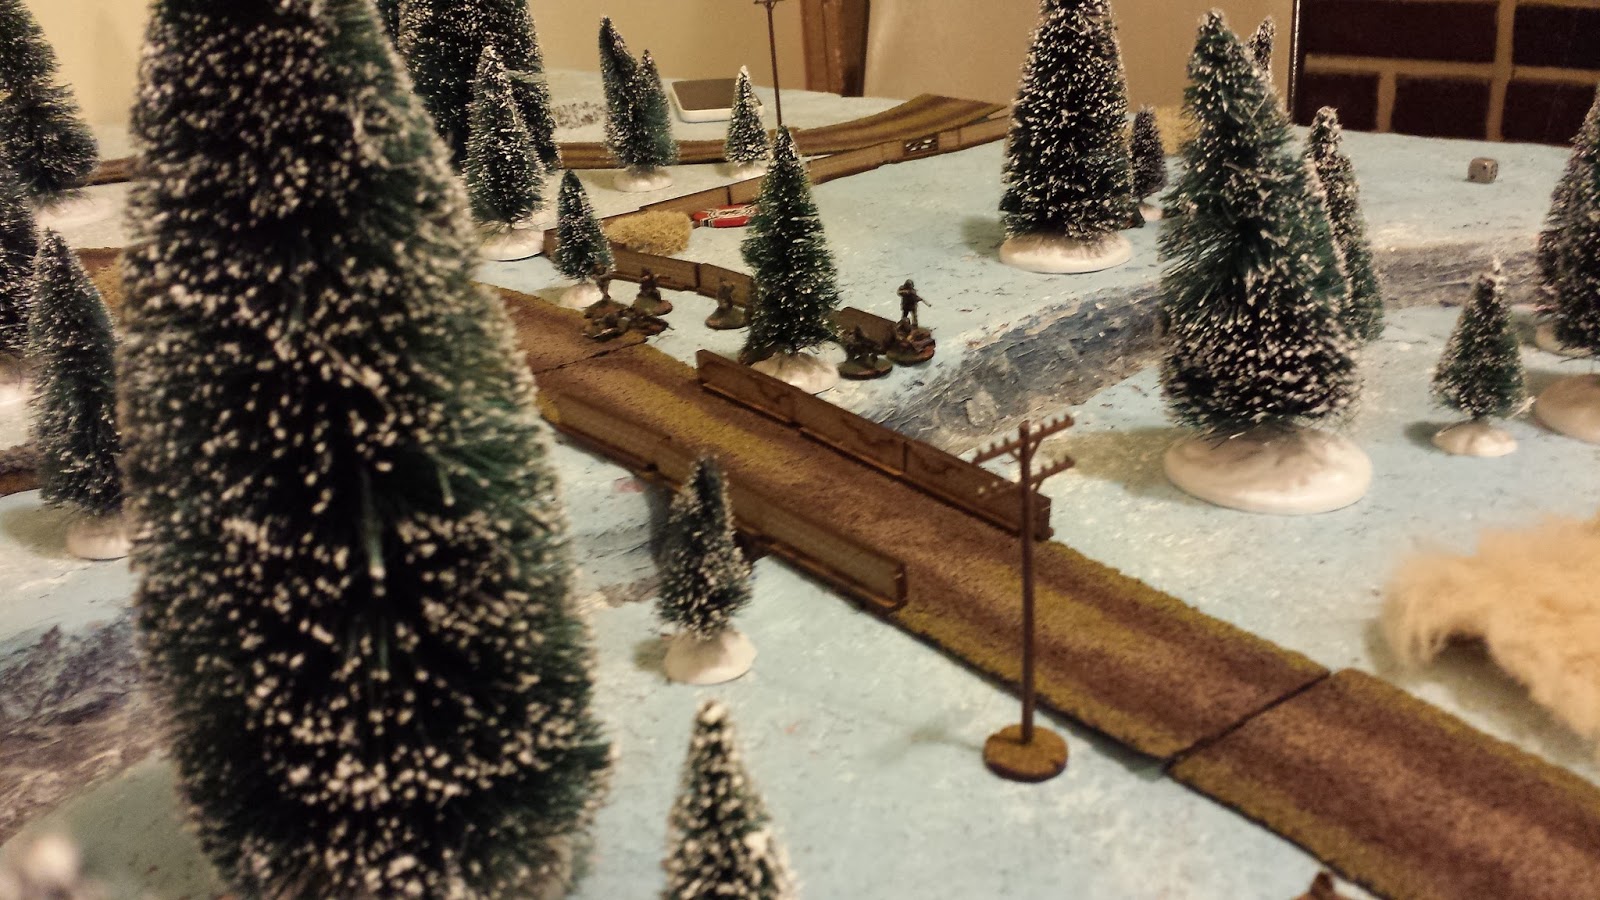
Charlie, the artist turned mortar man, was the first one on the board as usual, to lay down some preparatory smoke. The Germans deployed their own mortar team behind the trees. A section deploys behind a stone wall and opens fire on Charlie at long range.

Reggie, Charlie's brave assistant, goes down!

Meanwhile, Fritz (my opponent) deploys another section in the field on the right.

And his last in a shell crater on the far left. That just leaves the Panzerschreck team off the board. I smile, as I haven't yet deployed and I can now see exactly where the enemy is. This is typically a strong advantage in CoC. Only one section defends the right side of the board, the side I'm intending to assault. All I have to do is break that one section, and keep enough smoke going to limit fire from the left side of the board. Charlie, it's going to be a busy day.

I deploy my first section into the hard cover of the building. They immediately take fire from the German section on overwatch.

The carrier rolls onto the board.

And a second rifle team deploys right next to the first, laying down covering fire against the Germans in the field.

Meanwhile, Charlie calls in his old friend Tom from the London Artists' Collective to help with the smoke situation. With two mortars laying down smoke every turn, it should be easy to concentrate my fire against the single German section.

But damn those Germans can shoot! So many MG42s...

While the section in the ruins holds back and offers covering fire, the other makes a dash across the road into the field. Unfortunately, Fritz burns a CoC die to interrupt and catches them in the road. The MG42s concentrate their fire on the Bren team, knocking it down to one man.

Meanwhile the forces of the London Artists' Collective are doing their job well. The wind is a bit of a bother today however, knocking a few rounds off target and leaving some gaps for the Germans.

With casualties mounting for the British, the Lt. tells Charlie that we need his help over in the field too. Hopefully, this will limit the return fire to one team.

But the wind, enemies of artists everywhere, is too strong on this cold winter day. The turn ends and the smoke blows away. The Germans move into position and start firing.
A nasty situation, leading to enfilading fire on the lead British section.

I'm forced to deploy my third section prematurely in order to counter them. However, they too are getting worse then they're dealing out. We need more smoke! The platoon sergeant deploys near the mortar teams to help direct their fire (ie, activate them when there are no 1s).

Meanwhile the far removed third German section, seeing my final section deploy, makes for the exposed jump off point left on the right side of the board. It will take them a while to get there, even running full out (and accumulating shock), but it's a risk I'm willing to run so long as those two MG42s stay out of the firefight.

Nice work Charlie!

Tom, you're not so bad either.

However, while the British lay down their smoke screen and rally their men, the Germans are making haste towards that jump off point on the right.

And that GOD DAMNED WIND keeps blowing. The smoke vanishes again. Charlie declares to his sergeant that he "simply cannot work under these conditions. I'm an artist not a weather man!" The sergeant tries to explain that all art is transitory, and makes some comments about Buddhist sand painting, but British morale is already falling. Between Charlie's mood and the senior leader taking a wound, things are not looking good for the British.

The lead sections keep taking shock and casualties, and are having a very difficult time advancing. Every time the smoke comes up, they're taking fire from no less than 4 MG42s. Ouch.

The third German section moves up to take the jump off point. I use a CoC die to retreat it across the river before they get there, but they take up a good position behind a stone wall. All three sections can now bring their guns to bear on my men. I'd hoped that the game would be nearly over by the time that happened. And it is nearly over, just not in the way I'd hoped.

I don't think I've ever had two jump of points right next to each other before...

The lead section is getting taken apart, thanks to the unforgiving wind which once again blows away all of Charlie's hard work. Fritz and I were flabbergasted by the amount of times the turn ended this game. I think it happened five or six times in total.


The third British section, facing off with two German sections across the river is pinned before the London Artists' Collective can get its smoke back up.

Desperate, the British push up their carrier into the field, hoping to make a mad dash for the enemy's exposed JoP there. Its not too far away, and if I roll well, I'll get close enough to prevent Fritz from deploying his Panzerschreck to counter it. This is especially important as I just accidentally ended the turn again with three 6s rolled and I know I'm going to be facing serious fire on Fritz's phase.
Sadly, I roll poorly, and end up 2" shy of where I needed to be. Predictable results follow.


The Junior leader and one rifleman is killed, but the Bren gun is rescued and a two man team hits the dirt behind the ruins of their carrier. On the same phase, the lead British section is torn up. One team is wiped out and the other breaks for the rear, taking the wounded senior leader with them.

In one phase, the British lose 4 force morale, dropping them to a 3. It is clear that we won't be exiting a team off the German table edge today.

My opponent asks if I want to call it a day. Unhesitatingly I refuse. I haven't managed to even dent his force morale - unacceptable! I take one more turn, activating that Bren team behind the carrier to make the Panzerschreck team pay for their excellent aim.

With Fritz finally losing a single morale point, I can finally withdraw with some dignity. Clearly Monty is going to have to find another place to counterattack, or at least wait for a less windy day. A German victory, and the end of a long CoC winning streak for me personally.

No comments:
Post a Comment