Top Image

Top Image

Thursday, June 23, 2016

Blackjack Down

After successfully scanning the destroyed mechs on Calish III, the 1st Argyle Rangers picked up a nearby distress call. One of the mercenary pilots had survived!  With his company utterly destroyed, recovering the pilot would not only provide valuable intelligence on what happened on the planet, but potentially an experienced mech pilot would be a useful addition to any force.


The downed pilot had climbed to the highest ground in the area in hopes of boosting his signal.  Of course, this meant that the Dogs of War were also likely to pick up his distress call eventually. Working fast, Captain Laval ordered his Cavalry Company to send a detachment, with mech and air support, to recover the pilot before the Dogs could.

"And if you can, give those Dogs a punch in the nose for me as well, would you?" he said.

- Objectives: rescue the pilot (50pts & the pilot) and destroy or cripple half of the enemy's force (200pts).

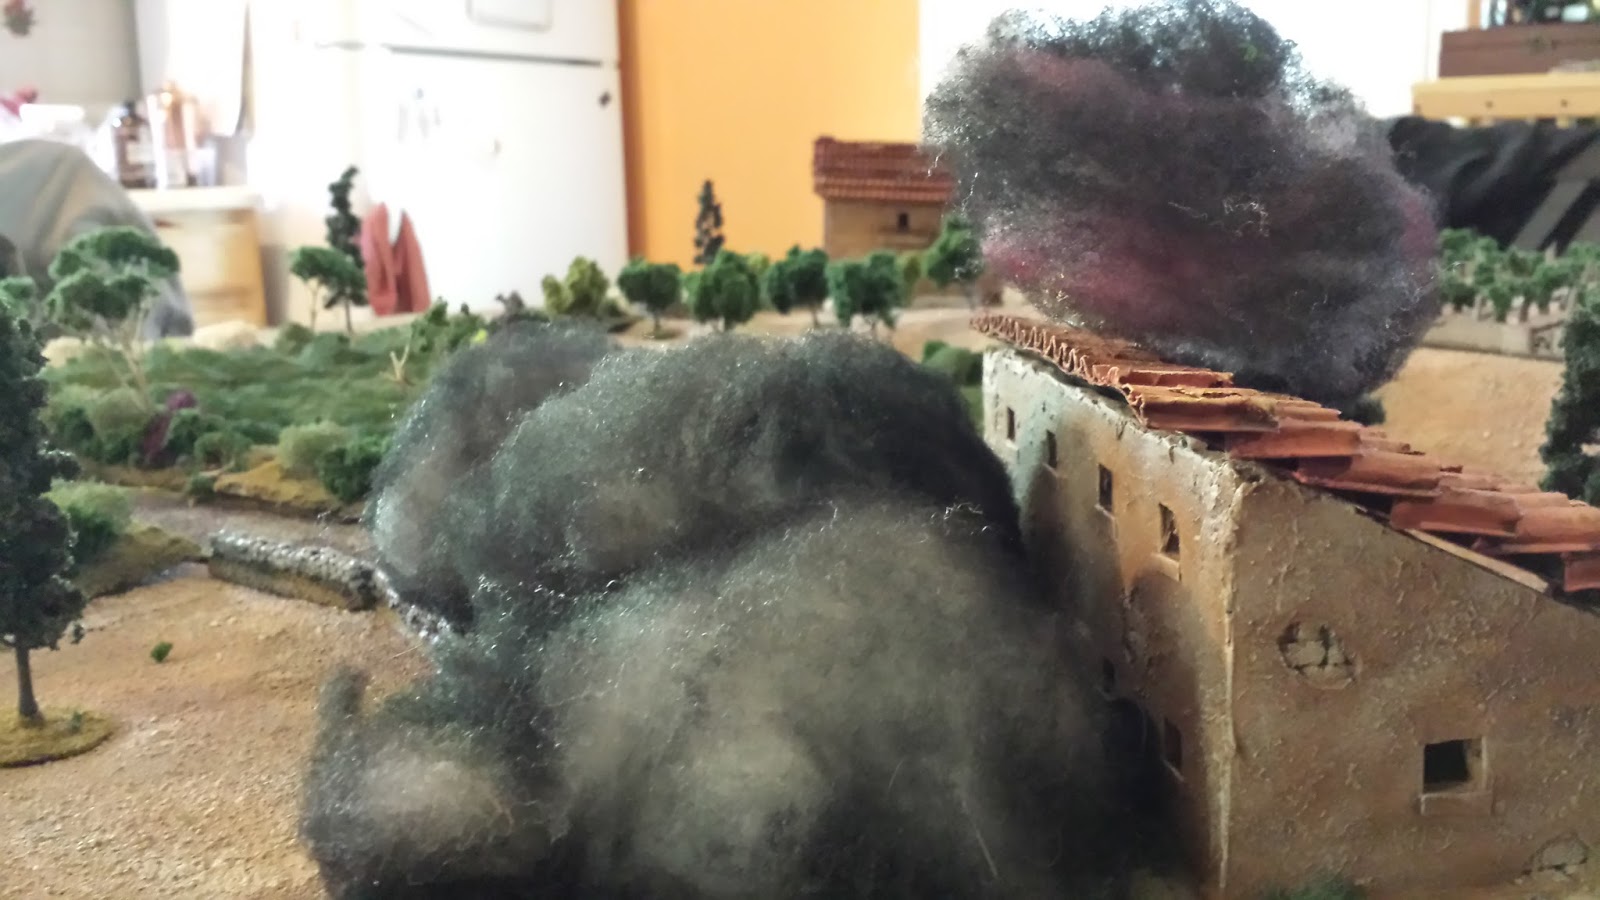
After the thunderstorm during the initial encounter, the ground had gone completely to mud, slowing down any non-hover ground vehicles.


As expected, the Dogs of War were already on their way, fielding a primarily light force, anchored by a Cyclops assault mech.


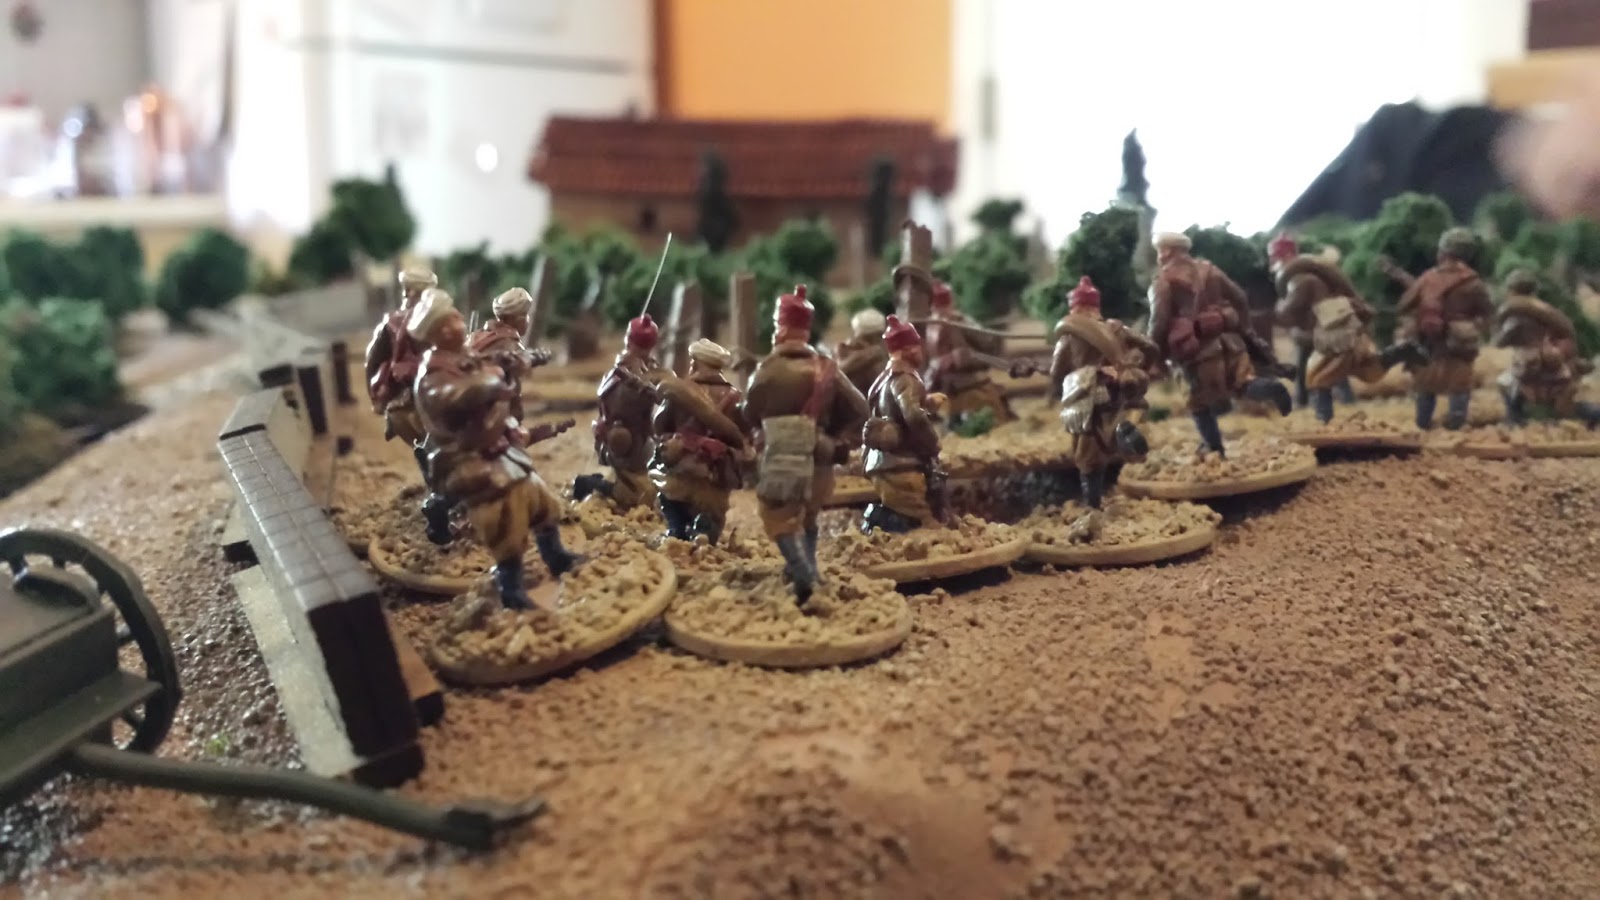
The Rangers, meanwhile, put forward a nimble force of two fast Saladin hovercraft and two Warrior helicopters for the rescue, and Catapult and Zeus mechs in case the Dogs were feeling frisky.  A single Mechbuster fighter was present as air support, unopposed by enemy air.


The VTOLs rushed forward at maximum speed as soon as the enemy mechs appeared on the scanners.


It was a race, but as fast as the Jenner and Ostscout are, the helicopters were faster, especially as the muddy ground slowed even the light mechs.


The mechbuster made a series of lackluster passes, unwilling to get too close to the enemy initially.  As the light mechs moved away from the heavies (and their LRMs), he'd make an attack run.


The helicopter reached the top of the hill just as the enemy mechs reached its foot. The Mechbuster made a pass at the Ostscout, but the fast moving mech eluded the pilot. The lead helicopter, however, packing both short and long-range missiles, unloaded on the light mech, nearly destroying a leg and and arm.


Meanwhile, the Saladin hovercraft rushed forward, parking behind a hill to hide from the enemy heavy mechs.  They were now behind the enemy light mechs, ready to harass them if they tried to escape.


The heavy Dogs support took up positions in a copse of trees, but the Rangers avoided giving them anything to shoot with. With the pilot picked up by the Rangers' helicopter, the recall order was given by the Dogs commander, and the lights began to withdraw under the protection of the Cyclops and Trebuchet.


The Ostscout, heavily damaged, was looking to withdraw before he could be taken out, but the Jenner remained bold and undamaged.


And then something unimaginable happened. Smelling blood, the lead helicopter began to actually chase the retreating mechs.


Hoping for easy prey, the Warrior went after the Ostscout. Having reached just the edge of the table, he'd be gone next turn.  Sadly, the quick little mech proved elusive, slipping away the next turn.


The other helicopter, meanwhile, was able to get clear, with the rescued pilot safe inside. All that remained was to try to give the enemy that bloody nose Captain Laval wanted.


The air assets moved in for the kill.  Hoping to damage the Cyclops before their mechs got into range to slug it out, the Warrior and Mechbuster attacked it from both sides, the VTOL moving to unload its missiles into the mech's rear armor. The Ostscout safely away, the Jenner turned to support.


And in one of those "only in Battletech" moments, the Mechbuster landed a shot on the Cyclops with its Autocannon 20, and rolling a head shot on the damage location!  The otherwise undamaged mech had its head blown clean off by the attack, slaying the pilot and sending it falling to the ground in a single shot!


With the Ostscout withdrawn and the Cyclops command mech down, the Lance Commander dead, the retreat was sounded.  With the Rangers' mech forces still well out of range, the hover craft and helicopters moved in to harass the Jenner, now the last enemy in the field (the Trebuchet ran as well).


While taking damage from the Warrior, both Saladins missed, allowing the Jenner to slip away.


While unable to destroy half the enemy force, the rangers managed to damage two mechs and capture the decapitated but otherwise undamaged Cyclops, a valuable assault mech, and of course the downed (3/3) pilot. A solid victory for the rangers, and an expensive loss for the Dogs of War mercenary company.


With the battle over, both sides returned to their landing zones.  At nearly that very moment, scanners indicated a potential problem.  Forces from the Outworld Alliance militia had just entered the system and would arrive on world within a few hours. With a fair amount of salvage from the mech company lying around, both sides moved to secure the site for salvage. After twice dancing around the Dogs of War with his cavalry, Captain Laval knew that the time had come to strike a serious blow to his long-time enemy as both sides moved to secure a landing site for their dropships.


Tuesday, June 14, 2016

Outworld Campaign - Recon on Calish III


I've definitely got the Battletech bug. Fresh on the heels of the Oberon Conference, we're into a new 3-game mini campaign that will kick off a much longer term "chaos campaign" style run. Here we go!

It's been a year since the Oberon Conference. The 1st Argyle Rangers have returned to the Crucis March and the Dogs of War have secured a long term contract with the Draconis Combine. After months of travel, both units have once again been deployed to the Periphery, this time at the edge of the Outworlds Alliance, about as far from the Oberon Confederation as you can get and still expect to run into human beings. The Outworlds Alliance, bordering both the Federated Suns and the Draconis Combine, is slowly falling apart under its own weight. While strong militarily, the cost of deterring both the Federations Suns and the Draconis Combine is born at the expense of basic necessities on many worlds. As the Succession Wars go on, education has all but collapsed in the Alliance, and most worlds remain isolated from each other with trade limited to necessities and luxuries viewed with distrust and distain. The Alliance itself, and the ruling Avellar family, are to many a distant and distrusted force which takes too much of their livelihood in exchange for protection from raiders and pirates. With front lines between houses Davion and Kurita subsiding into a state of tense quiet, both houses have begun to cautiously maneuver the crisis in the Outworlds Alliance for their own benefit...

The 1st Argyle Rangers are attached to the Federated Suns warship Churchill, officially patrolling the Crucis outback and periphery border. Unofficially the Churchill is staying very close to the Outworlds border, gathering information and allowing the Rangers to act as a rapid reaction force.

The Dogs of War meanwhile, have slipped into the Alliance, ostensibly looking for contracts. What even most of the rank and file in the mercenary company don't know is that they are already on retainer with House Kurita, looking for an opportunity to advance the Houses agenda on the Periphery.


The Outworld Predators, a small mercenary company garrisoning Calish III, appear to have been destroyed by unknown parties. Alliance forces are on the way to investigate, but both the 1st Argyle Rangers and the Dogs of War intercepted the Predators' distress call. Both forces intend to investigate, salvage what they can, and depart before Alliance forces can arrive.


Battle 1: "Mystery on Calish III"
Orbital scans show the detritus of a battle between battlemechs still smoldering near one of the largest settlements on Calish III. Both the Dogs of War and the 1st Argyle Rangers have dropped near the battlefield and are sending recon elements to investigate.

Deployment: 5000 BV is deployed on the short table edges. The center of the board is a farming town, with numerous buildings close to the center and farms. Closer to the table edges there will be woods and a few hills.There are 6 ruined mechs/tanks are scattered around the middle of the board. You need to get within 4" of a wreck to scan it, with no shooting that turn. Any vehicle, excepting aerospace, can scan a mech.

Objectives:
Investigate: 50 points/mech scanned
Lightening Raid: 100 if more than half your force survives and exits back to table edge.

Special Rules: Forced Withdrawal is in effect for both sides.

Optional:
Thunderstorm: +1 to all shooting and +2 to pilot rolls for any air vehicles.(100 to victor)


The Rangers detach a lance of hovercraft from their cavalry company, supported by three mechs, hoping to get in and get out before the Dogs of War can try and pull them into a fight.  The thunderstorm is raging without an end in sight, so Captain Laval is unwilling to risk his more expensive air assets. Instead, only one hotshot young pilot, Sgt. Greyson, is deployed in a conventional Mechbuster fighter.


With the Dogs of war risking a Shilone heavy aerospace fighter, Greyson is charged with keeping the enemy fighter busy as the Rangers' fast forces rush forward to scan the wreckage.


The Dogs of War are cautious, deploying a surprisingly heavy mech force of an Awesome and Trebuchet.


...supported by a Rommel tank.


The Rangers force is far lighter, with  Spider and Jenner light mechs, anchored by a Crab medium mech. But the real work will be done by the two Pegasus scout hovercraft and three ultra-light Savannah Master hovers. Fearing the enemy's air superiority, the Rangers advance in a loose line.


The enemy advance in tight formation, a tempting target for a Mechbuster's AC20 in a strafing run. But any return fire would be likely to shoot down the fragile plane, so Greyson doesn't risk it.


The fast Savanah Masters rush forward and begin scanning the closest destroyed mech.


While the other hovers enter the city to scan two more.


Eventually all six burning hulks are scanned before the Dogs of War even enter the outskirts of the city.


The only real contact with the enemy is in the skies, as the Shilone takes aim at the lightest of the Ranger mechs, the Spider. Thanks to the storm, the damage is minimal, but it could have been far worse. Taking advantage of the opening, Greyson slides into the Shilone's rear and unleashes a mighty AC20 round, hitting the enemy plane and knocking it out of control!


However, the Mechbuster's flight path is just  at the edge of the Trebuchet's long range missiles, a few of which manage to clip the plane, sending it too veering out of control.


As Greyson maneuvers erratically, trying to regain control of his plane, the cavalry radios that the objective is completed.  A general withdrawal is ordered - "all units return to the drop site."


The Shilone, flying at slowly at low altitude to line up its earlier attack run, is unable to regain control before it stalls in midair, sending it into a downward spiral.  The pilot nearly manages to pull up, but the strong winds work against him, and he's forced to eject just before his plane hits the ground.


Meanwhile the Rangers successfully withdraw, with only the Spider having taken any damage.


The Dogs of war finally reach the outskirts.


Greyson, rapidly losing both speed and altitude, manages to pull up seconds before the plane hit the ground, regaining control and setting his sights for home.


As do all other units.


The Dogs of War enter the city and start scanning.


Just as the last of the 1st Argyle Rangers begins to move on. Learning the ruined mechs comm frequencies, the Rangers detect a faint distress call coming from the mountains. One of the mercenary pilots is still alive!  Before the force even returns, Captain Laval begins to put together his team for a rescue mission.


The Dogs, as soon as they're done scanning the ruins, will probably be right on their heels, as usual.


A quick shot of the enemy Shilone's sheet - most of the damage is actually from the crash.  The storm really made it nasty for the air forces!


Friday, June 3, 2016

On the Malaga Front, 1937

January 1937.  Faced with the failure to capture Madrid in December, the Nationalists move to take the southern province of Malaga. A column of Moroccan Regulares leads the way, trying to open a vital road to their mechanized Italian allies.  Republican soldiers have taken up position in a fortified farmhouse to try to stop them...


History aside, my opponent Jamie has his own axe to grind.  He loves Chain of Command, and has several times given me a real run for my money... but he hasn't been able to close the deal and win a game. This time, he had full choice of forces and scenario.  He chose the Moroccans vs. Republican regulars, and the "Capture an objective" scenario.  For game purposes, the fortified farmhouse will be the objective in question.


The Patrol phase didn't go well for the Republic, as Jamie was able to pin down his markers before I was able to get into position. My jump off points were far from optimal, and exposed especially along the road.


A Panzer I rolled up as the unit's spearhead.


And oddly, almost immediately after, Jamie rolled four 6s, triggering a random event and giving himself a CoC die. As luck would have it, one of the Moroccans dropped a cigarette into some dry hay and the building near their table edge went up in flames. As one of the Nationalist jump off points was inside the building, this was clearly a mixed blessing for Jamie.

I feel like I should note that Jamie has some very, very odd luck with this sort of thing. It happens to him more than anyone else I know who plays this game.


The first Moroccan section deploys into the vinyard overlooking the road and farmhouse.


While a Republican AT gun tries unsuccessfully to tag the Panzer.  It has a straight shot down the road at it.


Having plenty of support, due to the disparity in quality between my force and his, I opted for two 2" mortars for my mortar section.  Turned out to be a serious waste of two points, as any mortar teams without smoke ammunition tend to be. Disagree? Tell me why in the comments.


I do, however, simply love a Bilbao armored car.


The panzer cautiously advanced, trying to machine gun the AT gunners before they could connect with a shot of their own.


One man went down, but the shock hurt more than anything. The twin machine guns in the Panzer I were able to keep the team's head down enough to make the shooting difficult.


The Moroccans reach the stone walls enclosing the vineyard,  and begin to trade rifle shots with the Republicans.


Republican soldiers take up positions inside the building and return fire.


Meanwhile the other Moroccan section is seen moving behind the drifting column of smoke.


They eventually clear the smoke and move to join the fight.


Knowing the second Moroccan section is on it's way, I deploy my final section near the livestock, hoping to pour enough fire to destroy the enemy in the Vineyard before reinforcements arrive.


The plan is rather effective, and the section dwindles dangerously.


Meanwhile the Panzer advances, getting dangerously close to my first JoP (the donkey).


The Moroccan infantry follows closely behind.


While the enemy is getting the worst of it, morale is starting to fall apart in the poor cover behind the wooden fence.


The AT gun's crew finally managed to connect with the Panzer!


The tank's commander was spooked by the hit, forcing it back, but not stopping it.


The Bilbao, along with a detached team of infantry riding inside, moves to pass the tank. My plan is to get a team of infantry (and the Bilbao's machine gun!) into the enemy's rear and threaten his JoPs just like he's threatening mine.


But I'm not able to stop Jamie from capturing this one... ouch, that's a hit to my morale!


The Moroccans on the hill rush into close range, hoping to make a desperate assault.  My section opposing them is in just as rough shape by this point.


...partially due to the Panzer's machine guns catching them in enfilade!


As the Panzer shoots them from the side, the Moroccans open fire across the pasture.


Casualties mount on both sides, and take a toll on the livestock as well!


The first team breaks and runs back to the road.


My morale is now a dangerous 5 (we both started with 9), any more and I'm in serious trouble.


Much as he's trying to do with me, I move the Bilbao up, and start taking shots at the Moroccans slowly working their way into the fight. I'm hoping to bloody them before they get into the thick of it.


Finally, the Moroccans at the cow enclosure break and fall back up the hill. A victory, sure, but at great cost. What's left of the section that beat them can't expect to fight much more today (lots of shock).


With the Panzer still firing at the infantry, the AT Gun is able to take an irresistable shot against it's side armor.


Still a miss!


The Moroccan platoon sergeant, detaching himself from the near-destroyed section in the vineyard, moves to join the fresh section now approaching the battle.


While, more or less ignoring the AT Gun, the Panzer continues to fire at my infantry.


Another team breaks, leaving only the LMG team still able to fight, and that team is nearly pinned itself.


My morale drops to 4, and thus so do my command dice. Jamie still has his 6 dice, and a lead that it will be hard to break. Could this be the long-awaited victory for him?


Another shot into the side armor...


And this time it's enough!  The tank is knocked out!  However, Jamie is able to use one of his many CoC dice to avoid the morale loss.


Confident now that I can try to salvage the fight, I move my Bilbao up, turning the machine guns on some senior leaders that happen to be unattached from the main force.


This quickly turns to disaster, as Jamie gets a double run of phases, and uses it to full effect. A team of Moroccans rushes up into the hedges and begins tossing grenades.  One rattles into the Bilbao's viewport and...


Boom!  Driver is assumed killed as the infantry team inside pours out into the open.


The Moroccans use their second phase to rush the team...


...which immediately routs and falls back, pinned down behind some bushes. My morale has fallen to a 2 by this point, giving me very little to work with. Victory seems impossible, but I'm now fighting for a draw. According to the scenario, if Jamie breaks me before he gets a figure into base contact with the farmhouse, it's a draw.  But my opponent is no fool...


Ignoring the pinned team, the Moroccans begin to cautiously, but rapidly, move down the road.  There's little to stop them.


The AT Gun's crew desperately shoots at them, but with morale nearly broken, they can't coordinate their fire with the rest of the platoon.


There's one able to stop the Moroccans from rushing up under the windows of the defenders.


The Moroccans turn on the AT Gun and charge.


It goes exactly as one would expect.


With the gun knocked out, Republican morale drops to zero for a complete Nationalist victory.

Congrats Jamie, and well played!