


This is the final board on this ladder campaign, board 5, and Fritz and I are playing here for all the marbles. The Lincolns were tasked with taking the town in three days (each day is 3 turns), and it is noon on the 3rd day. If they win here, they win the campaign. If the Nationalist defenders drive them back here, then they will be able to launch a counter-attack back into the city, which will tie the Lincolns up for the rest of the day, moving the clock into an untenable day 4. That will be considered a Nationalist victory, as the Zaragoza offensive, of which this battle is a small piece, will go off its timetable, allowing Franco's forces to counterattack and opening the (remote) possibility of a relief column reaching Quinto.
There's a small chance of a draw as well, as this is the "Attack on an Objective" scenario in the main book. If the Lincolns break the Nationalists without having anyone in base contact with the church, they will have a chance to try again once more before the end of the 3rd day (although that one they would have to win outright or face a Nationalist victory). Despite that, I know that both Fritz and I are going for the decisive win tonight...

This platoon is the famed "Connolly Column" of Irish volunteers. Originally almost company sized, they voted to leave the British Battalion and join the Americans a year before. Now they were reduced to a single battle-hardened platoon.

This scenario will also see the use of both side's last "wild cards". The Lincolns use "Viva la Quinta Brigada", giving them a +2 on their force morale roll for a total morale of 11. The Nationalist defenders, with a modest morale of 9, use "Fascist Propaganda", making the platoon "diehard" for this battle only (and matching the history of this stubborn defense), meaning they ignore all shock. The Lincolns are already "aggressive" and have the "anti-fascist" rule, meaning they never break, but instead retire back pinned. But that they've had all campaign...

The patrol phase begins. The Lincoln scouts go hard to the left, creeping up towards the high walls. My Nationalists lock them down quickly, and also make inroads into the right.

Neither of us got exactly what we wanted out of the patrol phase, and we're making due with what we have. One area I'm pretty happy with is the jump off point on the slope of the right side of the board.

Another is far back towards the church tower.

And the last in the square next to the building.

The Lincolns put one near the table edge, hidden by the wall.

Another next to some buildings in the same area.

And the last inside the courtyard of the larger building near their side of the board.

As the Lincolns start to move, they reveal their plan. A field gun comes on near the wall, clearly intended to blow a hole in it to allow the infantry to make a quick dash for the square and its JoP.

They also deploy a Machine Gun team into the building at the bottom of the hill. This allows them to cover the whole approach to the church when they knock down the walls.

The first infantry section quickly joins the field gun, along with Lt. Joseph Flannagan, their C.O.

With Lt. Flannagan initially separated from the nearby platoon, the Nationalist sniper (free in this scenario) takes some shots at him to no avail.

A machine gun unit set up in one of the church's upper windows, ready for the Irish to charge over the walls.

A Lincoln Battalion mortar team deploys into the courtyard as well.

Lt. Flannagan, hurried along by the sniper, joins his unit and they began to prepare their deployment. It looks like the Lincolns are going to wait for the their second section to join them before making their move.

Preparing for that eventuality, Sargento Javier Rios (senior leader) emerges with a full-strength rifle section, setting them up on overwatch to await the Lincolns on the other side of the wall.

Their appearance takes the wind out of Lt. Flannagan's sails. Charging through any gap would see them taking fire from the whole section AND the machine gunner in the window. They stay put for now, waiting for a double phase no doubt.

At this point, the Nationalist make their move. Wait, who is that in the red beret leading the reduced Nationalist section? It is none other than El Profesor.
Last scene climbing the hill to the church after sacrificing nearly his entire platoon to the Lincolns, he's been pulled back to service by the army platoon leader, Alfarez Juan Pena, and given the weaker section of only two teams (although with an LMG). The section lost his leader in the last game and the traumatized theology professor was given the job (as a replacement officer, he still only has 1 activation and a reduced range - he was just added for color).

Who better than El Profesor to lead a dangerous and risky flanking attack on the Nationalists?

Meanwhile, a machine gun duel is in progress. The Lincoln gun claims the first blood of the game, but the return fire starts to wear on the unit.

In answer to El Profesor's move, the second Lincoln section deploys into the alleyway. Stretching the distance from the JoP to get there, they only have 5 rifles that can shoot on deployment. All miss the Nationalist soldiers, despite them being in the open.

El Profesor redeploys his men on a lucky double run and they return fire to much greater effect.

To help control the situation, Pena himself joins the unit, only to be immediately be hit with mortar fire. His bugler goes down, but Pena and his flag-bearer make it out unscathed.

As the Lincoln section disappears into the building, Pena orders El Profesor onwards.

The Nationalist machine guns, which would love to gun down those targets, find that they are well outside it's field of fire from the window, and of course, tripod machine guns can't lean out windows...
In the fire from the church and the sniper, the team has taken considerable shock and lost most of its men, including it's junior leader. It soon withdraws deeper into the house, well away from the windows.

El Profesor and his men take possession of the taller building, giving the men at the upper windows shots into the courtyard opposite.

This forces the mortar team to withdraw into cover. The daring gamble is starting to pay off, and the game feels like it's going the Nationalists' way. Certainly the Lincolns have suddenly found themselves on their heels.

Despite rifle shots on them, the Mortar team escapes inside unscathed. So far there have been few casualties, but much maneuvering. At the same time, the field gun begins gradually crawling back away from the wall, perhaps looking to turn its destructive power onto the buildings taken by Pena and El Profesor. This diversion is working out swimmingly, pulling more and more attention away from the objective.

Perhaps eager to martyr himself, or else to redeem himself for his defeats, El Profesor volunteers to lead a dangerous foray towards the enemy JoP. Alfarez Pena gives his assent, willing to risk this half-crazed fanatic and a few men for the opportunity to demoralize the enemy.

The rush into the archway, so very close to the JoP. So close, in fact, that we were unable to satisfactorily measure the distance. We had to roll a die to decide if they were close enough to contest the JoP - and they were.

The Irish get a double-run of phases (four 6s rolled) which not only gives them the chance to act again and a free CoC die, but ends the turn and results in them finding a small cache of wine in the building, increasing their morale by 1. Inspired by the prospect of booze after the battle they pour out of the building, rushing down the stairs in an attempt to assault my men. The first roll isn't enough to assault, and I end the turn, claiming the JoP.

...and dropping the Lincoln morale to a 6. The other losses were from wounded and then killed Junior leaders.


But the Lincolns aren't idle, they surge forward, eager to give chase and close on the heavily outnumbered enemy.

They catch them just outside the door of the building hiding the rest of the section and Pena himself. I steel myself for what seems certain to be a bloodbath.

But instead, Fritz and I are both shocked by the response. Despite having about three times the dice, El Profesor's small band fights like lions, with the traumatized professor leading the charge himself. It's a clear Nationalist victory, perhaps abetted by the Irish sampling of the wine.
Delivering numerous kills and shock, the Nationalist take only one kill themselves...
Which unfortunately was El Profesor himself. Bravely steeling his men and leading from the front, despite everything else that happened beforehand, he will be remembered with honor by the Nationalist survivors of Quinto. Those who knew him and saw what became of him in the end rejoiced, knowing that his guilt and pain were lifted from him by his martyrdom, and that even now he's among the elect and among his many students and compatriots that died for him at the town's outer defenses.
The Irish meanwhile are stunned by their reversal of fortunes. They are just shy of being pinned, and end up rushing back 18", short a junior leader, towards the field gun which has just rounded the corner. With no junior leader, and no senior leader nearby, it will be hard to bring these guys back to fighting form.
The Lincoln leader has a hard choice to make. Try to (slowly) bring the section and field gun back around to the wall and church, abandoning the other buildings to Pena's flanking force, or else have Flannagan rush to meet them on his own, braving sniper fire, to remove the shock. As it happens, the Lincolns decide to do neither, but instead leave them as they are, supporting the field gun which has no shot on the enemy. They are waiting for the Nationalist to come and try to finish the job.

At first, it seems like that's exactly Pena's plan. He brings the section out into the street.

The field gun goes on overwatch in preparation for their charge.

...But Pena has no intention of giving them what they want. He wants to stay close to the church, in case the Lincolns try to cross the wall without the field gun. He starts maneuvering his flanking force under the windows covered by the enemy machine gun. If the Lincolns don't cross the wall, he'll charge into the building and clear out the support units inside.

But the Irish are stubborn, and line up in formation to cross the wall at once. All they need is a double phase...

It comes almost immediately after Fritz ends the turn to pull up my overwatch markers. He catches the defenders, who allowed themselves to relax, off guard, and the Irish surge forward.

Moving quickly to close the gap, we find ourselves in another bayonet charge.

With nearly the same numbers on both sides, it's a coin-flip.

And the coin flips my way. While taking several casualties, including a junior leader and a wound to sargento Rios, the enemy takes worse, losing their junior leader and seeing Lt. Flannagan knocked unconscious.


The hits to the leaders drops the Nationalist morale to a 6.

And the Lincoln morale to a 5. They can't afford any more hits.

However, there's little to be done. The attacking section falls back in some disorder, dragging their unconscious leader with them. With few junior leaders left and an unconscious senior leader, there's no way to remove shock. Things look grim for the attackers.

However, the Lincolns, knowing what to expect as foreign volunteers if they surrender, never break, instead falling back pinned. This avoids several force morale checks.

Fire from the rifle section and machine guns pins the whole group, driving them further back. But there's nowhere to go unless they move to the high walls.

Pena's section has cut off their only escape. His men charge up the road towards the church and catch the Irish between the two groups.

It's a slaughter.


Lincoln morale plummets at the loss of multiple teams.

With only three command dice, and no way to unpin himself, there's nothing the Irish can do but try to burrow themselves into the sand.

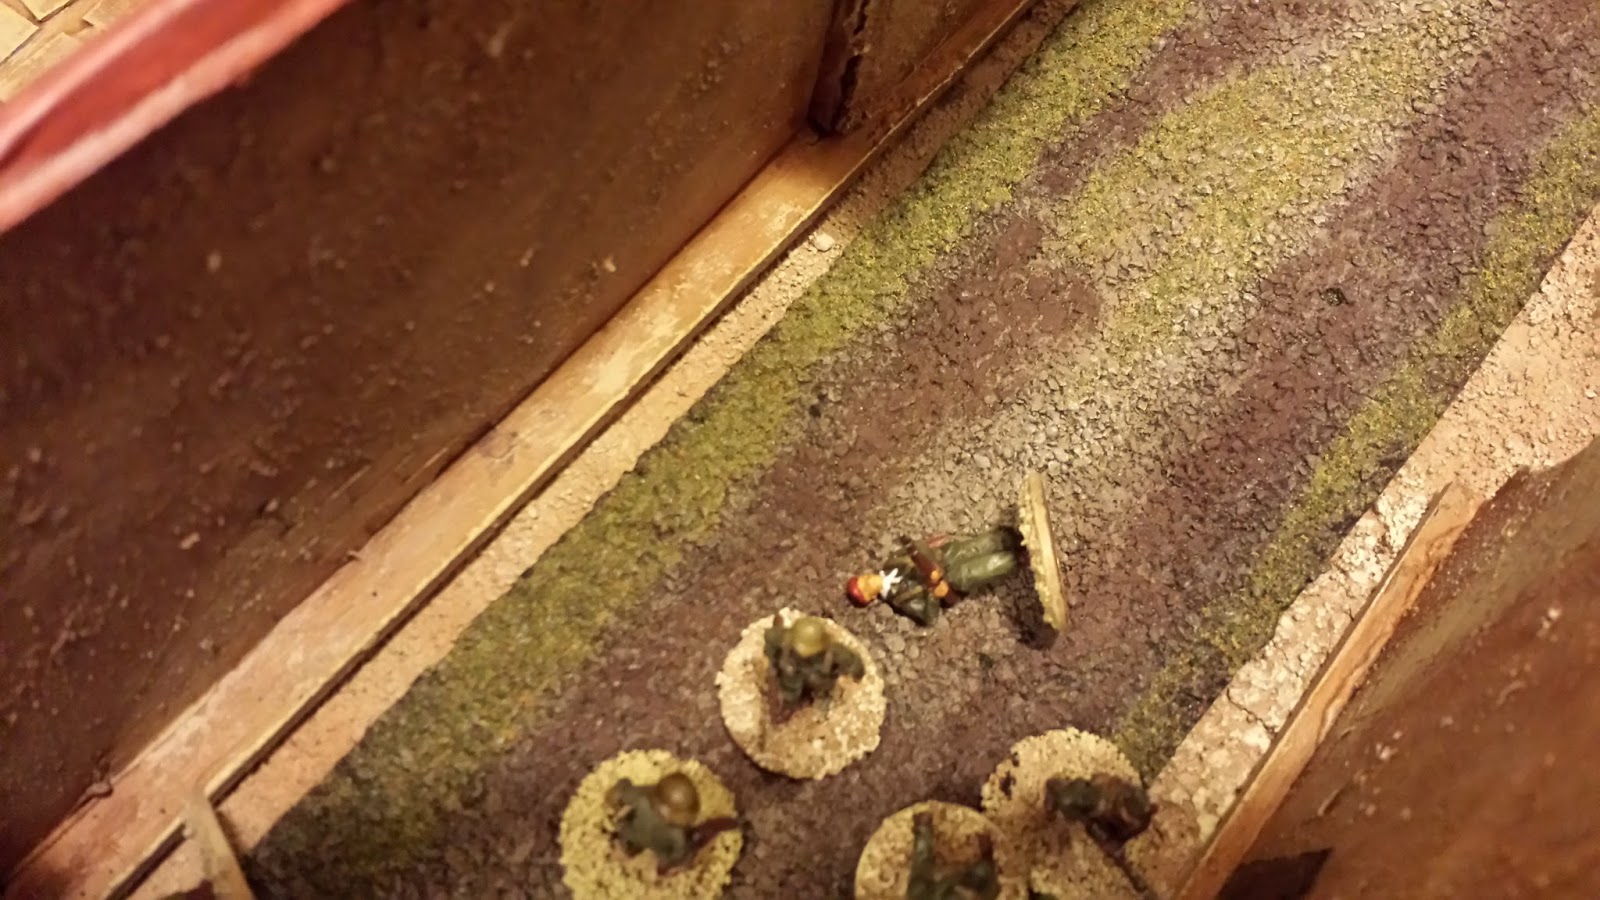
Soon, the section is utterly wiped out, leaving only the unconscious Flannagan alone and bleeding on the ground.

With the loss of their section, the Lincoln morale is at a 1.

As Pena carefully moves closer, deciding whether to take the Irish leader captive, the machine gun in the church makes the decision for him and finishes the job. The Lincoln morale falls to zero, and the game, and campaign, goes to Pena and his Nationalists.

A decisive victory for the Nationalists, they are strong enough to pursue the fleeing Lincolns back into the city, tying them up there until the sun goes down on the third day of the Battle of Quinto. We won't play that battle, as there are just too few left of the Lincolns to defend with (the Connolly Column is essentially no more), and the outcome wouldn't matter for the campaign result anyway.

The Lincoln survivors are few indeed - this campaign has seen the decimation of their first company, and a tarnishing of their reputation in the Republic. While this certainly wouldn't change the outcome of the war, it might well have rippling effects after this battle, whether or not Franco is able to relieve Quinto's besieged church (unlikely - Pena is probably dead the next day). The Lincoln losses mean it is unlikely they were in good enough shape to effectively intervene in the Battle of Belchite only a few days later, which may indeed have changed the outcome there, making the Zaragoza campaign even more of a disaster for the Republic than it was historically. It's fun to speculate!

This game was a great climax for the campaign, which has been a lot of fun. Fritz is as always a great and challenging opponent, and said he had enough personal glory to be satisfied. It was a close-run thing, and we agreed that if that close combat with El Profesor had gone differently (or statistically for that matter) the outcome might have been very different.
I hope you've enjoyed following along - I certainly had a blast putting everything together. I hope to offer everyone a .pdf of the full campaign, including historical background, maps, pictures, and the full rules, sometime in the near future. Stay tuned, and thank you for reading!
A final look at the board:

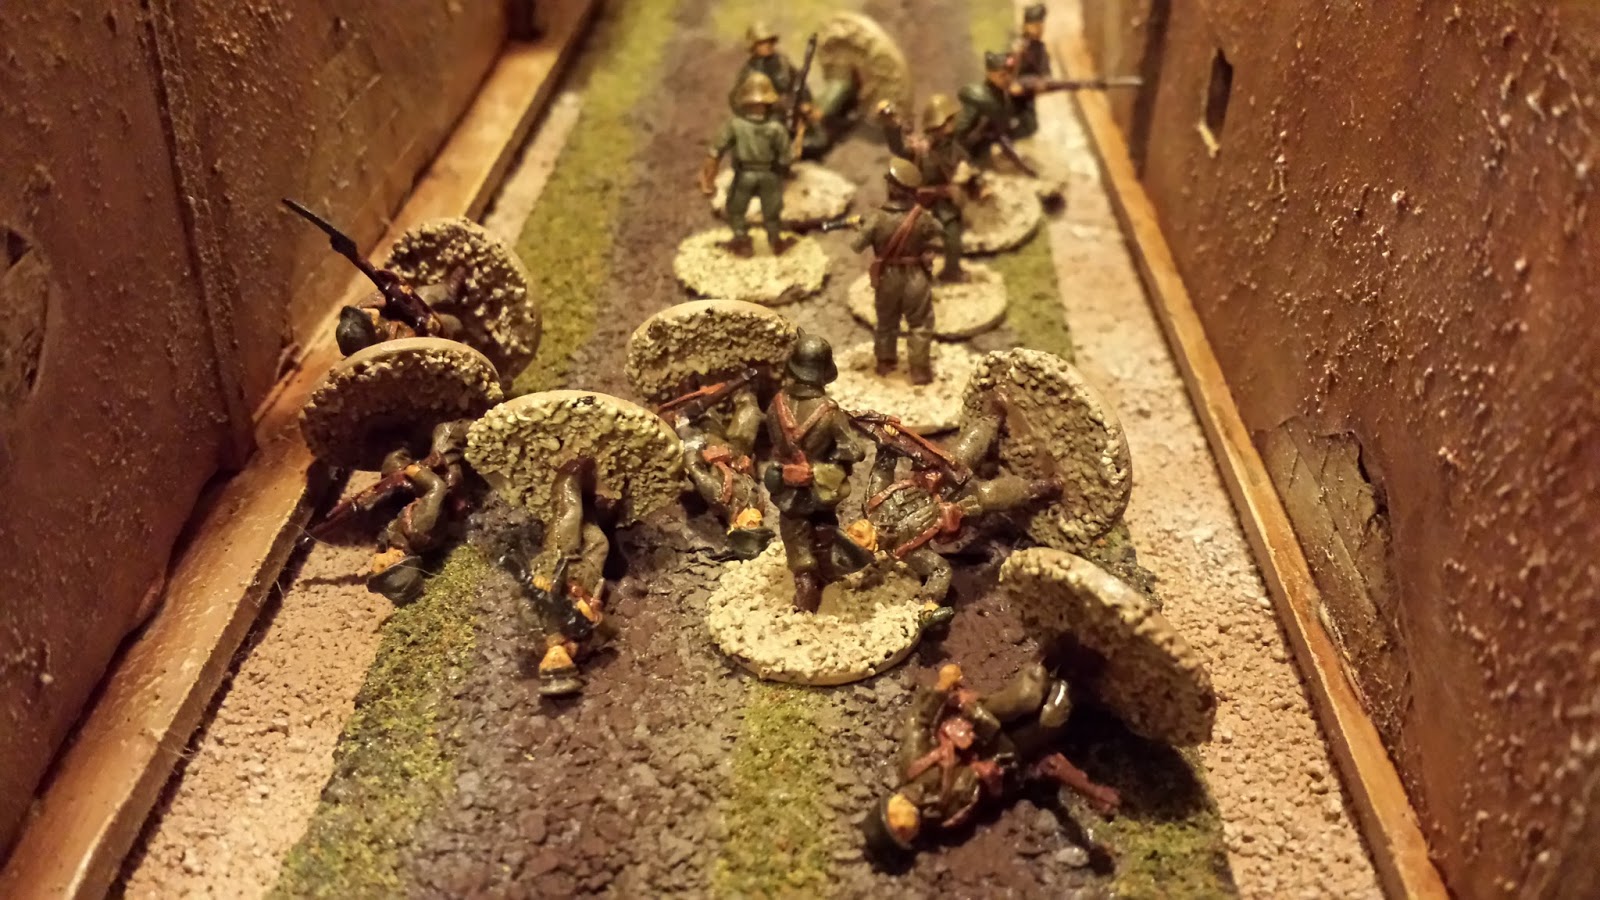
The Lincoln casualties:

The Nationalist casualties (including the famous professor). Doesn't include support losses.

Awesome battle report and a great linked campaign. Really enjoyed reading them.
ReplyDeleteThanks man! Glad you enjoyed.
DeleteAn inspiring campaign, just as I've started putting together some SCW forces - please do that PDF, it's just what I've been looking for
ReplyDeleteThanks! I will definitely get that out soon. I wrote most of it before we started, so it's already nearly done.
DeleteDid you both go a bit 'battle-happy' in this game? Great AAR and I have to say that the buildings really look the part as a collective whole.
ReplyDeleteThanks!
Delete"battle-happy"? If you mean all the close assaults, I assure you that I didn't initiate them! I don't typically move to close combat until my opponent is pinned, but Fritz is more of a gambler.
Nice campaign! It was super fun to read.
ReplyDeleteGreat battle reports, excellent narrative, interesting campaign rules, and GORGEOUS scenery! Very well done!
ReplyDeleteThank you much!
Delete