


I chose a highly experimental force, and with the exception of the infantry and Sparrowhawk fighter, all units I've never played before:
For air forces, I had a Sparrowhawk and a Mechbuster: a fast, heavily armored fighter and a cheap glass cannon.
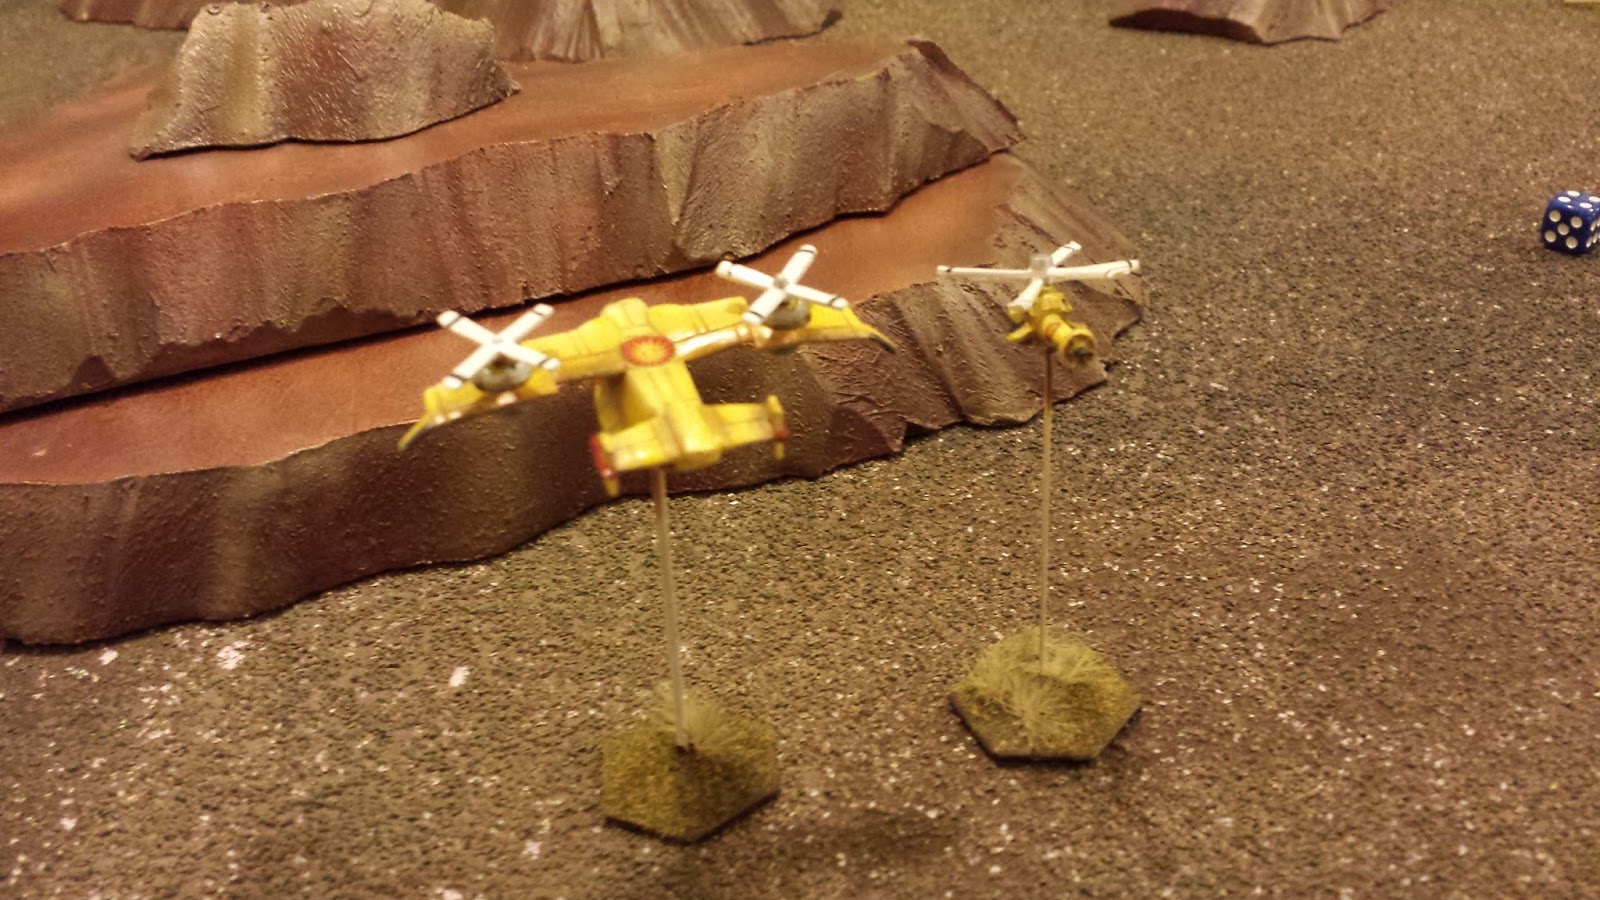
I also wanted to try VTOLs out, so I included a Karnov Transport (unarmed, but carries 4 infantry), and a standard Warrior helicopter.
The ground forces were to be a combination of heavy firepower and speed. A Schreck PPC Carrier was to be the main threat on the table, a weakly armored tank with 3 constantly firing PPCs, and a Von Luckner Heavy Tank to support the Schreck at closer ranges, and hopefully provide some staying power for my force. 6 Savannah Master hovercraft formed my maneuver element. These cheap hovercraft were essentially nothing more than a medium laser with an engine strapped to it, but they are very hard to hit if they use their full movement.

My perennial opponent Fritz took the opposite route - four mechs and a plane. From left to right: Hunchback, Battlemaster, Orion, and the little guy is a Commando. It's a pretty well-rounded lance, however only the Battlemaster has anti-infantry weapons, a fact I hoped to use.

For air support, these "Dogs of War" mercenaries have a Slayer aerospace fighter. 80 tons to my Sparrowhawk's 30. Less maneuverable, but more heavily armed and armored. There was very little chance, baring a lucky hit, that I'd be able to bring this beast down.

The Dogs of War, attempting to destroy critical food supplies, march in force. They are countered by the 1st Argyle Rangers, back at a time when they were attached to the Crucis Militia. Lacking funding for battlemechs, they are relying on conventional forces only to stop the invaders.

I send my infantry, escorted by the Warrior, on a long right hook, flying low and using the hills to break line of sight with the enemy.
Meanwhile, I send the Mechbuster on a long arc to the left to try to soften up the mechs with shots to their rear armor. The first shot misses - the Mechbuster, a cheap little plane, only has 4 more shots this game.

A dogfight begins between the Sparrowhawk and Slayer. I was hoping to tie the Slayer up this way, avoiding shots against my ground forces.

I was very much hoping that Fritz would break up his force a bit. Maybe send a mech after the VTOLs, or try a flanking maneuver. Instead, he kept his forces in tight formation, making them impossible to deal with piecemeal. My force does not lend itself much to a straight fight, so with this disciplined advance, I know I'm going to have a hard time.

I bring the tanks slowly up, positioning them to line up shots across the crop fields and make use of the Schreck's long range capabilities. But we're still just outside of long range.

Meanwhile, the hovercraft take up position behind a hill, ready to dart into the enemy's rear when they move to engage the tanks.

The next turn sees the slow advance of heavy mechs and tanks moving into range, and I decide to keep my hovercraft where they are, as it's a good position to strike from. It is a terrible blunder, or actually, it's two blunders: I left the fragile hovercraft both bunched up and halted in place. The Slayer turned to take advantage of the opportunity, and destroyed half of my hover force in a single strafing run.
Ouch.

My Sparrowhawk tries to take advantage of the easy shot against the Slayer, but it's medium lasers can't do enough damage to make up for the loss of three units.

Meanwhile my Mechbuster came around for another pass, landing a AC-20 shot into the Orion's rear armor. As it passes overhead, the Orion and Hunchback (lacking other targets at this range) fire into the cheap plane's aft, sending it crashing down from the sky.
An expensive turn, and another lesson.

My VTOLS, dropping to elevation 1, slide up under the cover of some ruins, ready to deploy infantry when the time comes.

The Slayer, however, being less maneuverable, was forced off the board, leaving the skies temporarily in the Sparrowhawk's control.
House Rule: rather than deal with aerospace units exiting onto a separate low altitude map, we said that units that go off the edge at the end of their movement skip a turn "turning around", and then reenter on the same edge, with the same velocity.

With the enemy now in range of my tanks, the hovercraft speed into action, concentrating now on the Hunchback.

Meanwhile, the enemy's Commando brings up the rear, taking shots against the hovercraft.

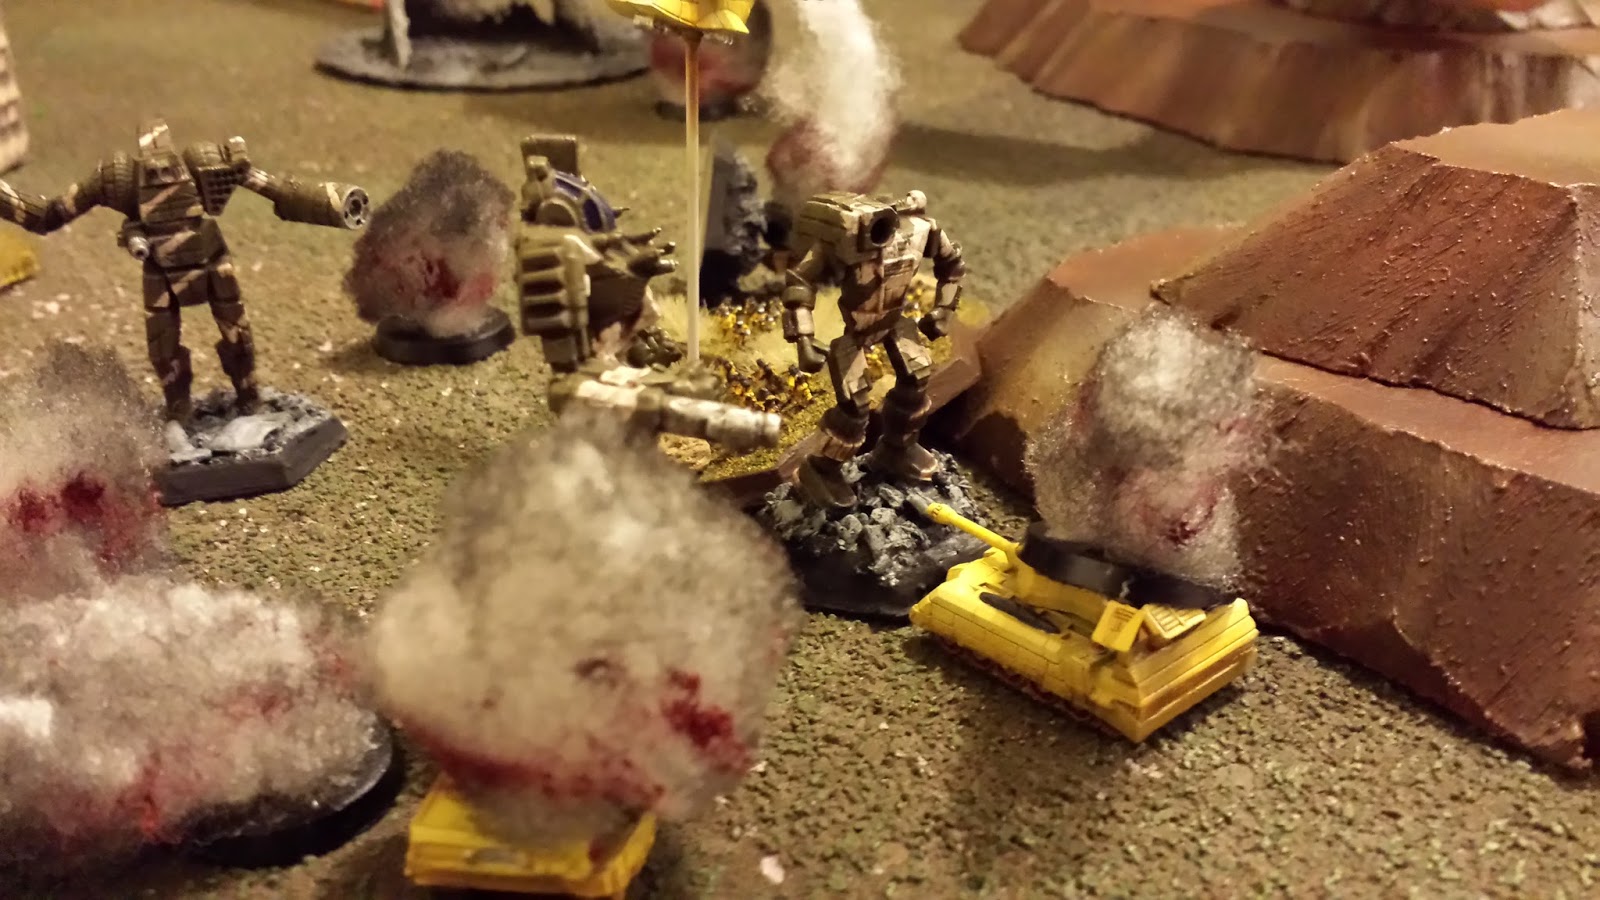
This is as close to an isolated unit as it seems I'll get, so the transport executes a combat landing and deploys troops right behind the mech.


Finally in range, the tanks concentrate on the enemy's commander in the Battlemaster. The other units only have rear damage, so I switch to the biggest threat, hoping to neutralize it with the sheer volume of fire these tanks are capable of. Lots of damage is spread around however, legs, arms, torso... but nothing gets too deep.

The return fire is devastating - three mechs all firing at the Schreck. I got very lucky, and retained four points of internal structure after the front armor was melted off. It would get one more chance to fire, no more.

The Battlemaster roared up into point blank range, forcing the PPCs to fire on the Orion instead for a cleaner shot, while the Von Luckner, now at its optimal range, unloaded on the Battlemaster. It very nearly finished it off - punching through the left torso and blowing off that arm. Meanwhile two infantry successfully hang on to the Commando as it rejoins its fellows. The Warrior fired everything it had into the rear of the Hunchback, but to little avail.


The transport, keeping low, reloaded two platoons and pulled back between the hills, to await orders, while the fighters returned to their dogfight.

The counter fire from so many mechs had its inevitable result. First the Schreck...

Then the fragile warrior...

But then also the enemy commando, brought down easily by the two units of infantry setting charges on the torso that blew a hole through the engine. [Rules correction: only one of those infantry should have been able to swarm the mech at a time].

Returning to the fray, the Karnov dropped the other two infantry back into the fight. With the Commando down, all four units fired into the Hunchback's back, nearly destroying it with their laser rifles. It was a near thing, but the monster still stood.

With the enemy bunched up, the Sparrowhawk managed a strafing run against the mechs, but again its medium lasers were just not enough.

The Orion, turning its guns on the remaining Savannah Masters, wiped them out easily, while the lead mechs finished off the Von Luckner.

With that, it became clear that there was nothing left the Rangers could do. Loading up the infantry, the Karnov Transport made a run for it.

When the Hunchback moved to give chase, the Sparrowhawk got a parting shot into its rear armor, destroying some of its weapons systems.


Meanwhile, the Slayer moved to intercept the transport. In a lucky moment, the only shot that connected was a glancing hit to the rotors, momentarily shaking the plane, but doing little real damage.

And with that, the airborne elements alone were able to withdraw in good order...

...leaving the farmland littered with the detritus of the battle. The Dogs of War may have won, but they found their victory bitter, as the damage done to them did not equal the meager salvage gained from the fragged tanks and hovercraft. But the players left satisfied!


Look at the Battlemaster, for instance! Nasty Damage all over, the leg armor gone, and half the upper body scattered about the fields.
But there are some important lessons here, and some perhaps rookie mistakes on my part.
Lessons:
1) Savannah Masters: Never, ever stop moving, and never bunch up when there's air support nearby. Yeah, I know, duh.
2) The Schreck PPC carrier is potentially quite nasty, but it doesn't have enough armor to be the primary threat on the table. The enemy will shoot it first, and those 3 PPCs will be quickly silenced. I think it would work better in support of a heavy or assault class mech, where the opponent would have to make a hard choice which to prioritize, especially if the mech advanced while the Schreck hung back and sniped.
3) Mechbuster - I think it would have been better to hold it back until the mechs had other targets. Like the Schreck, the AC20 means the enemy will prioritize shooting back at it, especially if they have no other targets. It's just too fragile to send in on its own.
4) Von Luckner - I thought I'd prefer the Schreck, but I don't. This beast performed very well, and did most of the damage to the Battlemaster. Its weapons are more varied and it has an advantage of volume of dice at short range. Plus, it's armor is quite respectable, making it far more durable on the battlefield. I think it may be the better value, despite being slightly more expensive.
5) Sparrowhawk - I really like this plane. It's incredibly fast and maneuverable, and its weapons are enough to harass the enemy, especially with rear shots. It isn't however, heavily armed enough to really threaten anything too much, especially a heavier aerospace fighter. It doesn't have heat problems however, and it's maneuverability means you can count on it lining up shots pretty much every turn. Definitely worth the price of a light mech. Next time we'll probably use bombs which will make the unit more effective I think.
6) Infantry & VTOLS: the Warrior was pretty useless. Maybe the gunboat variant would work better, but the standard load-out just didn't get the job done. The Karnov worked well, although we were a bit fuzzy on the loading/landing rules, so we played it dramatically, which may have made the unit more effective than it would be in the main rules. The infantry however... I love infantry, and they were very effective in this game. The took down the Commando, almost on their own, and nearly tore through the Hunchback's rear with the concentrated laser fire of four platoons. Plus they took zero casualties in the midst of this, as the Dogs of War had tanks to deal with first. I have to clarify the rules on combat insertions, but if it's feasible, I plan to continue to include infantry in the force with some kind of transport. The unarmed Pegasus hovercraft may be a better choice, however, in terms of speed and survivability.
7) Force composition: The Mech is still clearly the King of the Battlefield, but I think Combined Arms is really what I want, and I think it will win on the table as well. If this force had a mech in the midst, perhaps even just a single Medium, I think it would have changed Fritz's priorities, and given me a better chance to hit him with my more fragile weapons.
Our next game will be the beginning of a short, 3-game campaign. I'll have 6k bv to spend on my force, but there are no reinforcements, and repairs will depend on salvage. It will require a very different sort of force than I played here, as longevity (and ammunition) will be important factors. I may have to go with a more traditional Battletech force, and let the Kings of the Battlefield continue their reign. More info soon!
Brilliant. Really enjoyed this read. Please keep them coming.
ReplyDeleteThanks!
ReplyDelete