


Even as Major Tritchel's company gathers up its newly won supplies and equipment, an American surveillance plane is plummeting to the earth under heavy Martian fire. His men load up the supplies and rush to intercept it. This is the second part of a linked scenario, part of the Vicksburg Campaign. Check out Part I.

The Martians were already on the scene when Tritchel arrived. This was odd to say the least. Everything about the Martian behavior in the Delta suggested that they had little to no interest in American equipment and salvage. They left tanks, heavy howitzers and coal dumps just sitting around the countryside, yet mobilized a substantial force to capture this downed biplane. Whatever that pilot saw and captured with his camera, Tritchel knew he had to have it.
We're using "The Rescue" scenario from the AQMF book. The objective is to take the camera by coming into base with the plane, and then exit the unit in possession off your starting table edge.

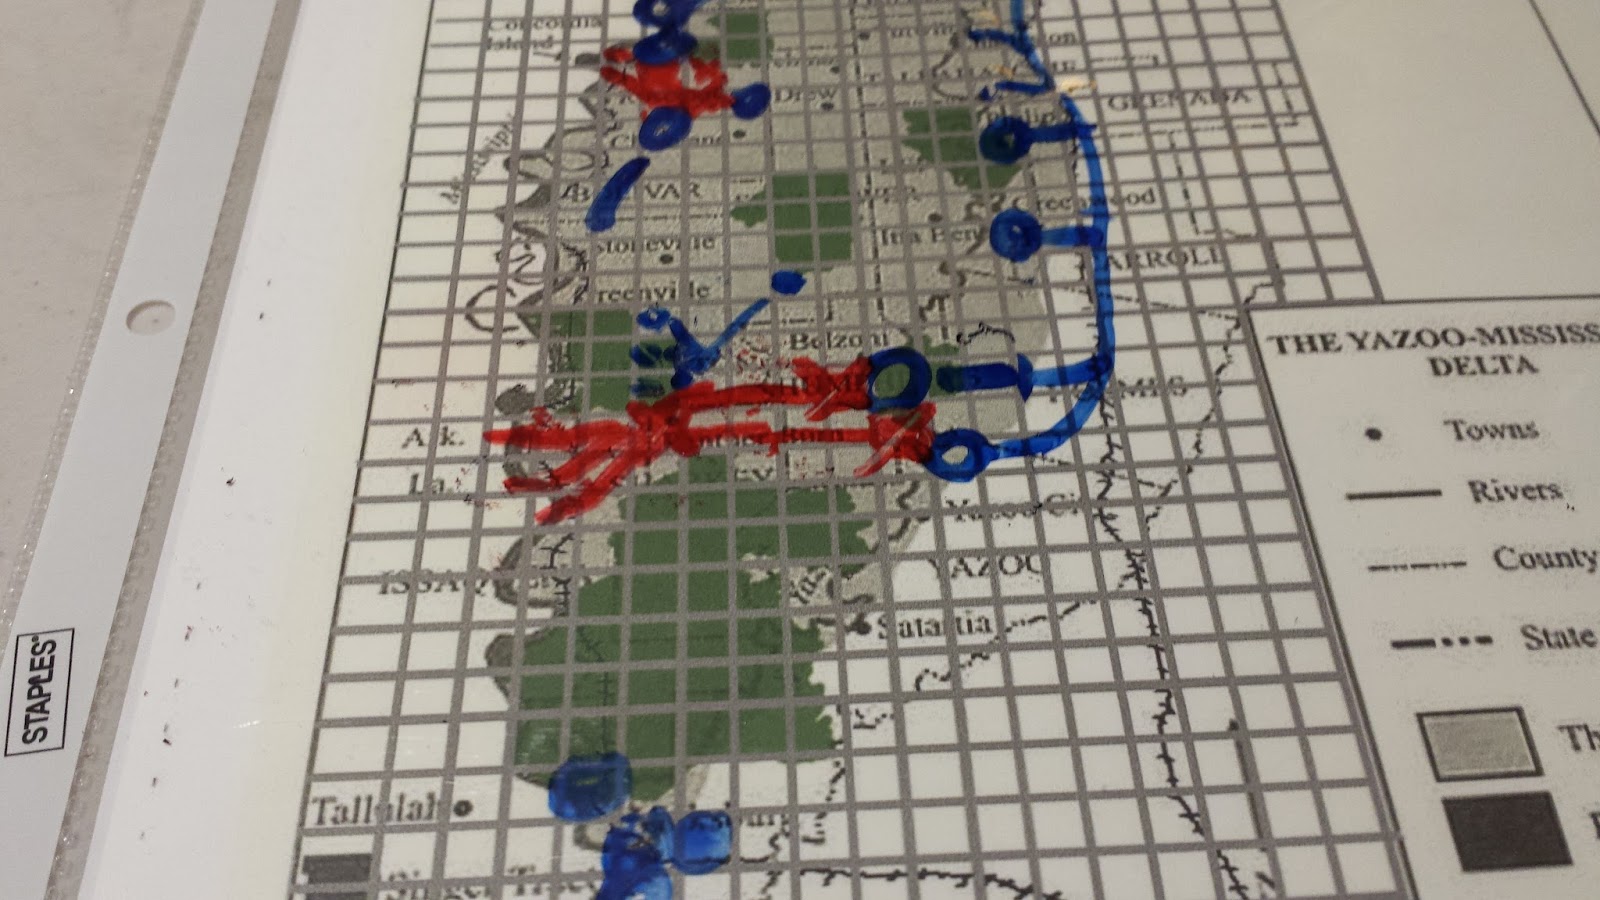
The plane is at dead center.

Tritchel's force arrives. His infantry has been refreshed back to 7 units, he's got a minelayer and clamp tank, and one unit of MKIIs towing artillery. Thanks to the Martian patrol in the last game, there are no other tanks.


The Martians rush a scout forward before the American force and react. Its tentacles tear the plane apart and take the metal box containing the film.

Tritchel orders his forces forward.

Fire from the artillery, infantry and rough riders severely damages the scout, but it still stands at the beginning of round 2.

The Martians win initiative and move two tripods up to screen the scout's escape. It makes it right to the table edge, but even with orders can't quite get off (by about 2 inches).

The only thing that can get range on the scout is the heavy artillery, which misses, allowing the scout to escape.

Wait, really?
That's it? 2 1/2 rounds? That game was over faster than the time it took to set up. This scenario STINKS. If you just have to grab it and run, the fastest human and Martian units, using orders, can rush 30" per round. If they're setting up 6" from the edge initially, they can easily just zip up and grab it and only take fire for one round really. After all, putting it in the middle of a 6' table makes it 36" from the edge. Essentially, this scenario comes down to winning the initiative roll and having your opponent miss with his long range stuff.
::Sigh:: Ok, restarting. That other game didn't happen. Now, whoever holds the camera at the end of round 4 wins. You still have to act fast, but you have to retain possession under fire which is harder. Also, break points will be used.
REWIND


This time we're both a bit more cautious. Also, Tritchel deploys his specialized tanks better.


The mine layer is destroyed by the sniper drones.

The mass of infantry form a line and begin to advance through the trees.

On the Martian right, a clamp tank attempts a flanking maneuver, and ends up using its machine gun to support some HMGs in the fields. It's the first kill by a clamp tank ever!

The Tripods at center are damaged. A scout begins moving erratically, while the assault tripod with black dust finds its targeting systems malfunctioning.

The rough riders rush up and secure the camera box. They're about to turn around and get behind the infantry when...

Black dust is lobbed by a grenadier, guided in by a scout tripod. The rough rider holding the camera is killed (random roll for which element dies), and it drops the camera.

Worse, with the mine layer out of commission the snipers have to fire at the closest vehicle, this being Tritchel's command tank. The three drones lay down a terrible barrage of fire, slagging the tank, causing the crew to bail out. One of the surviving tankers is seen pulling an unconscious Major Tritchel from the wreck. With their commander out of commission, the Americans have lost their ability to issue Orders.

The Martians move forward... well most of them do. The damaged scout decides to take a walk back towards the Martian rear. Apparently the scenery is just gorgeous over there. I mean, look at the flocking.


The damaged assault tripod moves up and grabs the camera with its tentacles.

It then scurries behind a scout for cover from the artillery and the MKII tanks which have finally managed to move into range. The lack of tank fire definitely hurt the humans here...

Meanwhile the damaged scout moonwalks towards the human infantry line.

The single grenadier keeps up the fire, trying to keep the humans busy while the assault tripod moves out of their range.

Infantry rush forward to assault the damaged scout.

it finally rights itself and scurries backwards, firing as it goes. The Martians assume a defensive formation as they prepare to withdraw with the camera. Moving into the final round...


At this point, without their leader, the humans just can't move up quickly enough to stay in range of the Martians. Only the longest range pieces, the artillery and the MKIIs, have range on the tripods. They concentrate their fire on the damaged scout. If they can take it out and destroy one other unit, say the sniper drones, they break the Martians, forcing them to drop the film and flee. But that means killing 2 units with 2 artillery shots and 3 tank shots.
How's this for close? It's the last phase of the last turn. The artillery all fails to connect, but the very last shot, the very last die, hits the scout. One roll on the chart - and the scout explodes, taking the sniper drones out with it! At the last moment, the humans break the Martian force, the assault tripod drops the camera, and the Martians flee back towards Panther Burn. American infantry salvage the camera and develop the film while Major Tritchel recovers...

The American harassment behind the Martian lines has caused just enough hesitation in their force that the American reinforcements are able to take up positions on the Yazoo just before the Martians arrive on the other bank. Neither side moves to attack quite yet, but sit across the river from each other. In game turns, the American victories allowed them to move first, using their victory points on extra movement to the east bank of the Yazoo. The Martians had just enough movement to reach the river, but not enough to cross it, choosing not to spend their VPs. What are they saving them for? Why are they waiting? Perhaps the camera holds a clue...?
Major Tritchel, badly burned and still coughing from smoke inhalation, is shown the developed film. On it are two disturbing images. The first, showing a scene to the northeast of Panther burn near the town of Belzoni, proves that the Delta is not as empty as he'd expected. A group of civilian refugees is fleeing the Martians, and from all appearances they appear to be being herded, manipulated, into moving south towards the Martian lines. Unless Tritchel acts, these civilians are doomed. However, another photo shows a more tempting target. In Panther Burn itself, the Martians appear to be constructing... something. Whatever it is, it's large and foreboding, and clearly important to the Martian plans.
Tritchel only has the resources to commit to one action. Does he rescue the civilians, or does he attack the Martian construction? It's a hard choice, one full of anguish for anyone with a human heart in their chest.
Listen to Fritz agonize over his decision on his Vlog, and check out the advice he's getting from the gaming community. Maybe add your own two cents.
This comment has been removed by the author.
ReplyDeleteVemeth HJuly 29, 2015 at 12:37 AM
ReplyDeleteExcellent campaign!!!
I'll think about giving this game a try!
Fritz! C'mon you need to save those poor civilians!
Thanks man. Let me know if you do end up trying it - I want to hear how it goes.
ReplyDeleteI think Fritz is leaning towards saving the civvies from what he's been saying.
Another thrilling encounter....
ReplyDeleteGreat to see how the campaign is unfolding.
Cheers
Stu