

After the Americans were thrown back with two tanks destroyed there was a short lull in the action. The requete platoon leader, Alfarez Cipriano Ortega, better known among his men as El Profesor, knew they'd come again, and soon.
Unfortunately his men know it too, and this time are feeling significantly less confident that they'll be able to hold them back. Their force morale is an 8, but then again so is the enemy's.
The patrol phase went a bit differently, and my jump off points were relatively close together, a bit closer to the cemetery wall than otherwise.

The Americans also were tightly clustered, but further out to my left near the road.
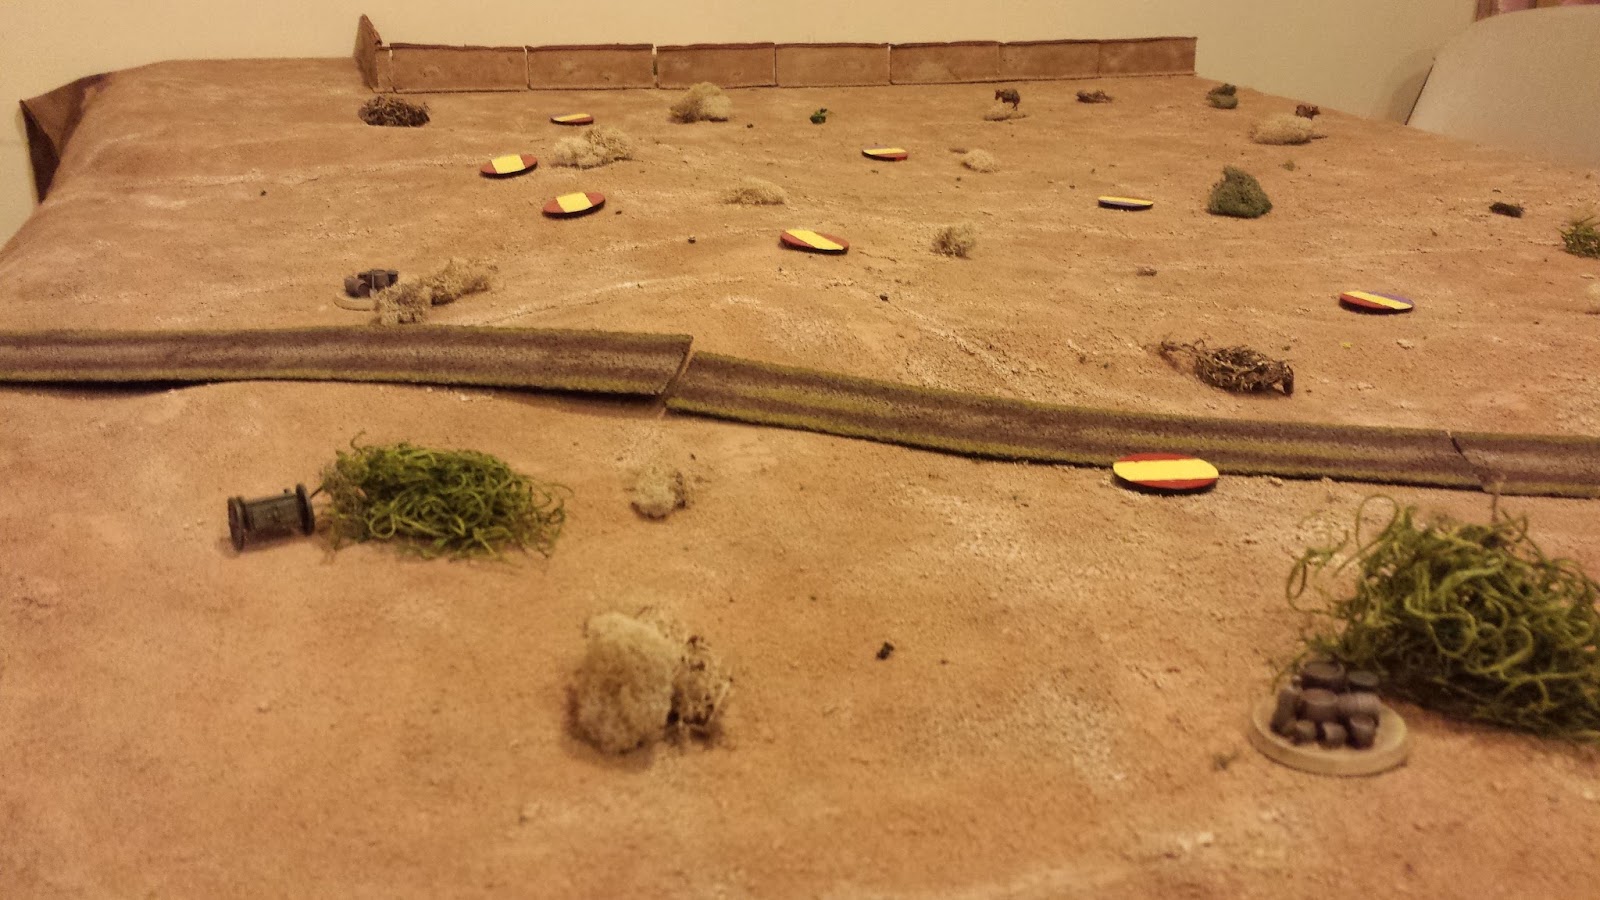
The Nationalist fortifications are placed, and after their victory last time, they had time to throw up an additional bit of barbed wire for a total of 5 pieces on the board. The bunker could have been better placed, a bit more forward, but I was limited by the jump off points.

Having lost their two free tanks last time, my opponent (Fritz) was forced to buy one from the support list. He also took some off-table machine gun support from the Lincoln Battalion's Tom Mooney Company and a sniper.
For my part, the requetes would be assisted by a tripod-mounted MMG, an LMG for a squad, and a priest to help with shock.

The beginning of the game is a series of slow careful moves and the build up Chain of Command dice for later. Fritz deploys his sniper pretty much in the open, as far forward as possible. A sneaky use of that unit, although we decided that due to their stealthy nature, they can't really effectively capture a Jump Off Point.

Using a CoC die, Fritz brings his sniper across the wire, aiming him down the "unoccupied" trench.

Of course, the section in the trench quickly reveal themselves, taking up positions and some of the teams going on overwatch, one facing the sniper in case he tries to take a shot. They have their LMG with them. This is the full-strength section, the other being reduced due to the casualties of the last game.

The men peek over the lip of the trench at the tank that they can do nothing about unless it gets close. They doubt that the International Brigade will make that mistake again.

With the sniper and tank getting close, I'm thinking that this trench is going to be the point of decision. We bring up one of the local priests to be with the men in the trench, reminding them of what they're fighting for.

The tank alternates shots between the MMG team in the bunker and the section in the trench, but to little effect. The Mooney Company fires its machine guns at the bunker, but to little effect. The next time they try to activate, Fritz rolls a 1 in contacting the battery, and it turns out they have other targets too shoot at, and won't be rejoining the fight for the rest of this game.

Meanwhile, the sniper risks some shots and is spotted by the team on overwatch. His spotter is quickly gunned down, leaving him exposed and alone. I'm hoping to finish him off next phase to reduce some of my enemy's morale.


The first section of the Lincoln infantry makes its appearance in the campaign, running up behind the tank.

The tank turns and crushes the wire, creating an opening for the infantry.

It speeds past the wire and around the rear of the trench, negating the jump off point by the trench.

Meanwhile the infantry pour through the gap and into the side of the trench.

The requetes interrupt their movement with a CoC die, opening fire and taking out the lead units, but they are completely out of position and only a handful of men get to shoot. The Lincolns pour into the trench, taking most of the section in the rear.
In hindsight, I should have used the interrupt to move and redeploy the men. Getting caught in the rear really hurt.

Most of the requetes are slaughtered in the ensuing melee, a chaos of screams and bayonets.

The rest flee, in more or less good order. The section sergeant, a local farmer named Dario Rodriguez, is able to salvage the machine gun and get his men out despite taking a nasty wound. But they are effectively out of action, and far too few to change the outcome of the battle.

The trench is lost!

The Lincoln's platoon leader, Lt. Antov joins his men in their moment of victory, bringing another section up behind the first. With the way the fortification were (poorly) deployed, they are able to deploy in such a way as to be out of line of sight of the machine guns in the bunker. The Lincoln Battalion, in taking the trench from the left, managed to successfully exploit a blind spot in the defenders' line.

The battle is lost, and I intend to withdraw, but unfortunately I unthinkingly roll my command dice, and immediately curse. Fritz, gentleman soldier than he is, offered to let me take the roll back and pull out, but I declined. I rolled the damned dice, and I'll have to face the consequences. I use the opportunity to unpin one of the single-man teams that survived the trench, hoping to ease their exit (and burning a CoC die to end the turn, despite the multiple morale hits that caused).

Fritz, appropriately wearing red like the bloody Bolshevik that he is (or is playing anyway), oversees his men taking positions in my trench. They take one last shot at the fleeing men, shooting the LMG's ammo carrier as he flees.

More Lincolns pour through the fortified line as my noble requetes withdraw to fight another day. A bloody defeat for the requetes, and stirring victory for the Lincoln Battalion.

The butcher's bill was heavy, with my platoon having lost 12 men. Fritz lost about half that. Needing time for wounded men to rejoin the platoon, I decide to give ground on table two, abandoning the artillery positions on the town's municipal dump to be overrun. Next game will see us fighting on table 3, the outskirts of the town of Quinto itself. I'm hoping that the more favorable terrain of table 3 (compared to table 2, which is hard to defend due to the terrain), the fortification gained for giving ground, and the trickle-back of wounded from the first air station will allow me to make an effective defense of the town. Still, even with the wounded returning, I'm down 10 men total which were killed outright in the past two battles - that's essentially a team from each section gone.
With each campaign turn signifying a 5 hour block of daylight, the aftermath of this game session sees the sun going down on the first day of the Battle of Quinto. The Lincolns have two more days to take the town and it's church. Both sides take stock as they settle into their evening meal:
The requetes are demoralized by their losses, with the title of El Profesor suddenly sounding more derisive and biting. The men question whether El Profesor is too distant and cerebral, and whether he cares at all what happens to the poor men under his command. With a -3 relationship, I'll be at -1 force morale next game. The Soldado Viejo, Capt. Vasquez, also appears to be losing confidence in Alfarez Ortega, but not enough to withdraw support. El Profesor himself is starting to buckle under the strain. How different this is from Theology class in Salamanca! His outlook has gone from happy to short-tempered, and he's starting to snap at his men and NCOs. Not good.
On the Lincoln side of things, their C.O. has begun to regain confidence in Lt. Antov after the debacle with the Soviet tanks last time, and he finds that his men have increasing confidence in him, as they've consistently taken fewer losses than the enemy. None of that is enough to have an effect on the game, at least not yet. His disposition remains unchanged, and he remains happy with the outcome of the battle, and with good reason!

Above, some requetes I painted to give some color to my force. I only needed a few to dot my platoon with, so I took some figures from the packs of Minairons Militiamen I just picked up. One of the figures included seems particularly suitable, at least when you paint the neckerchief white instead of black and red.
Now, a bit a dilemma before next game: in this campaign each side may only call for replacements once, and only on day 2, which begins next game. We also each get a platoon of reinforcements, and mine is a superior platoon, Nationalist infantry, rated regular as opposed to green like my requetes. Do I fill out my requetes platoon with replacements now, hoping to do as much damage on the edge of town, or let the dice fly with them down 10 men? If I lose again with these requetes, they'll be pretty much out of action permanently, and I'll be defending table 4 and 5 (the church) with the regular infantry. Table 4 is an urban board, and has the possibility of turning into a Belchite-like quagmire for the Lincolns if I play my cards right.
Defending table 4 with the regulars sounds good, but do I try to hold table 3 with a bolstered green unit, trying to cripple the Lincolns' first platoon, or do I leave them to their fate without replacements, hoping to save the replacements for my regulars? Of course, if I lose table 4 in the first game, the replacements become far less likely to make a difference... What do you think? Leave your suggestion in the comments, I'd love to hear it.
A most unfortunate occurrence, but well played by the Lincolns.
ReplyDeleteI'm inclined to say keep with the Requetes, despite their losses they are defending and so should have the advantage still. Having an intact platoon of reserves is more important and of course trying to use more troops with the same number of command dice brings its own problems.
I'm not sure of the veracity, but there is the old maxim of not reinforcing failure to consider too.
That last bit is kind of what was holding me back from issuing replacements.
DeleteThis comment has been removed by the author.
ReplyDeleteAh blogger... you double-commented me. :-(
DeleteLet the Requetes have one more chance at glory - your dice have to improve sometime also ;)
ReplyDeleteThe requetes will indeed have another chance of glory, either way. There's enough left to put up a fight, even if I don't reinforce them. The only question is whether this will be a last stand...
Delete