


History aside, my opponent Jamie has his own axe to grind. He loves Chain of Command, and has several times given me a real run for my money... but he hasn't been able to close the deal and win a game. This time, he had full choice of forces and scenario. He chose the Moroccans vs. Republican regulars, and the "Capture an objective" scenario. For game purposes, the fortified farmhouse will be the objective in question.


The Patrol phase didn't go well for the Republic, as Jamie was able to pin down his markers before I was able to get into position. My jump off points were far from optimal, and exposed especially along the road.

A Panzer I rolled up as the unit's spearhead.

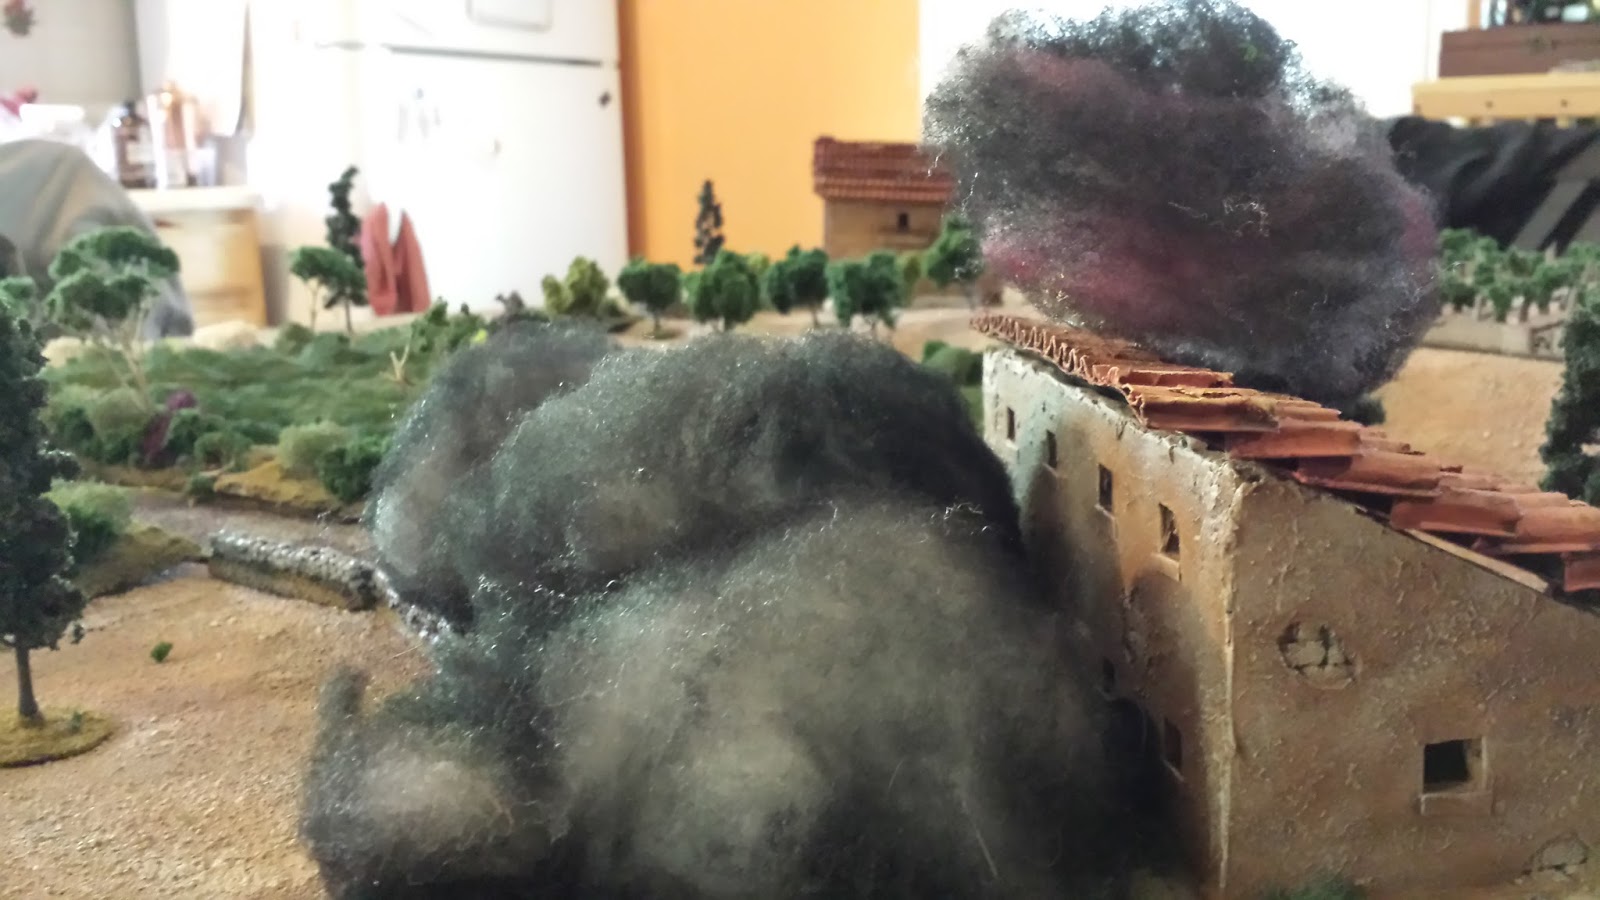
And oddly, almost immediately after, Jamie rolled four 6s, triggering a random event and giving himself a CoC die. As luck would have it, one of the Moroccans dropped a cigarette into some dry hay and the building near their table edge went up in flames. As one of the Nationalist jump off points was inside the building, this was clearly a mixed blessing for Jamie.
I feel like I should note that Jamie has some very, very odd luck with this sort of thing. It happens to him more than anyone else I know who plays this game.
The first Moroccan section deploys into the vinyard overlooking the road and farmhouse.
While a Republican AT gun tries unsuccessfully to tag the Panzer. It has a straight shot down the road at it.

Having plenty of support, due to the disparity in quality between my force and his, I opted for two 2" mortars for my mortar section. Turned out to be a serious waste of two points, as any mortar teams without smoke ammunition tend to be. Disagree? Tell me why in the comments.
I do, however, simply love a Bilbao armored car.

The panzer cautiously advanced, trying to machine gun the AT gunners before they could connect with a shot of their own.

One man went down, but the shock hurt more than anything. The twin machine guns in the Panzer I were able to keep the team's head down enough to make the shooting difficult.

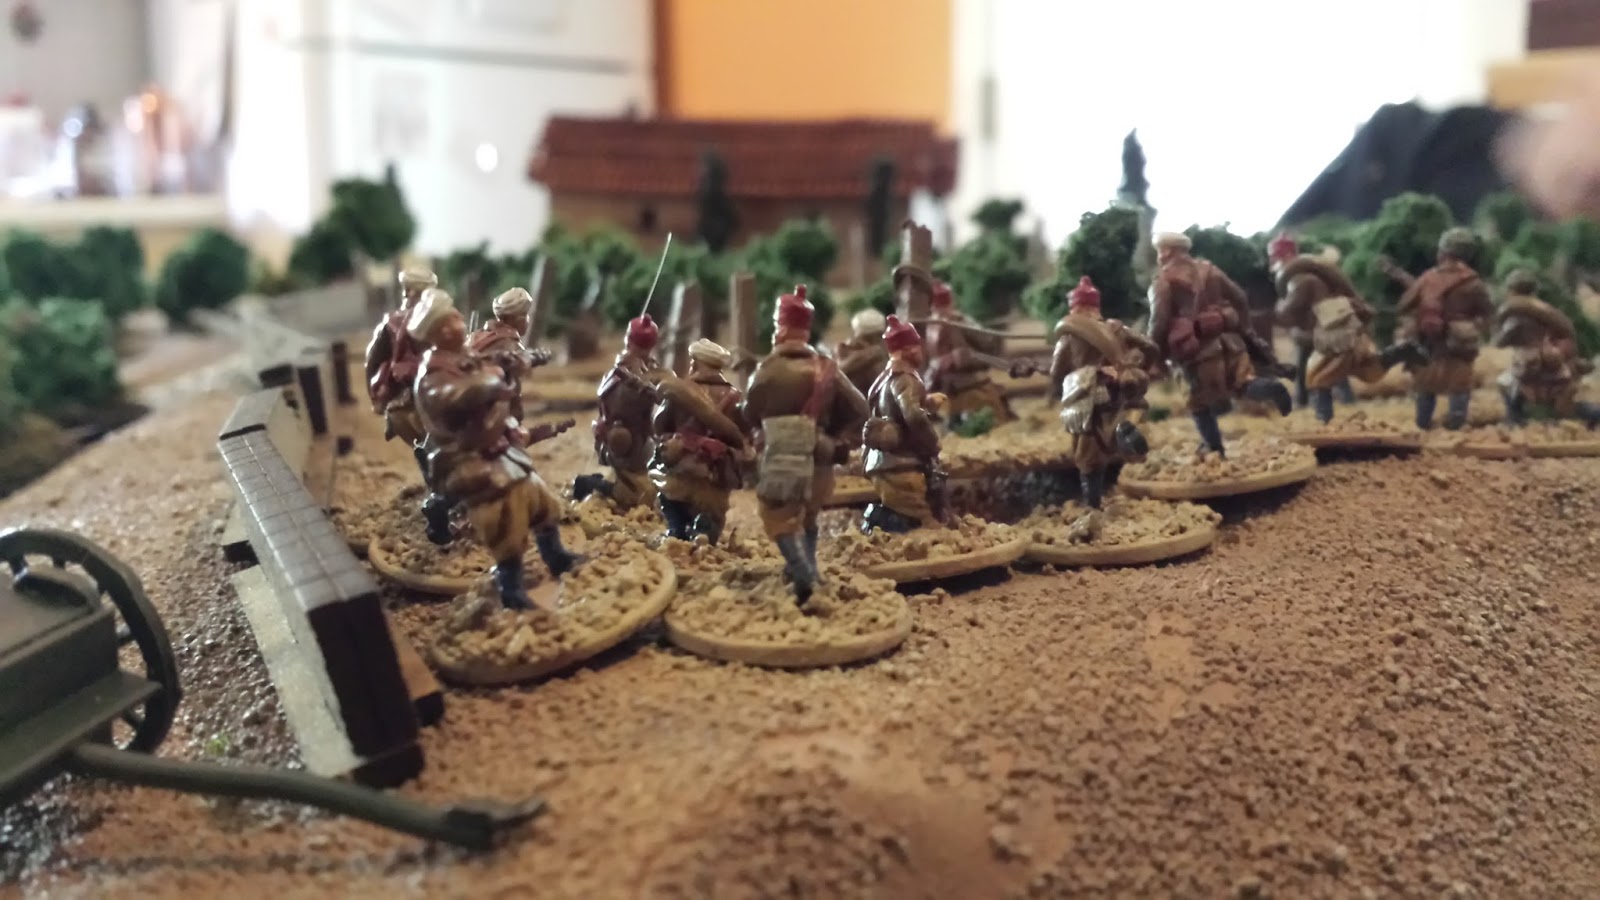
The Moroccans reach the stone walls enclosing the vineyard, and begin to trade rifle shots with the Republicans.

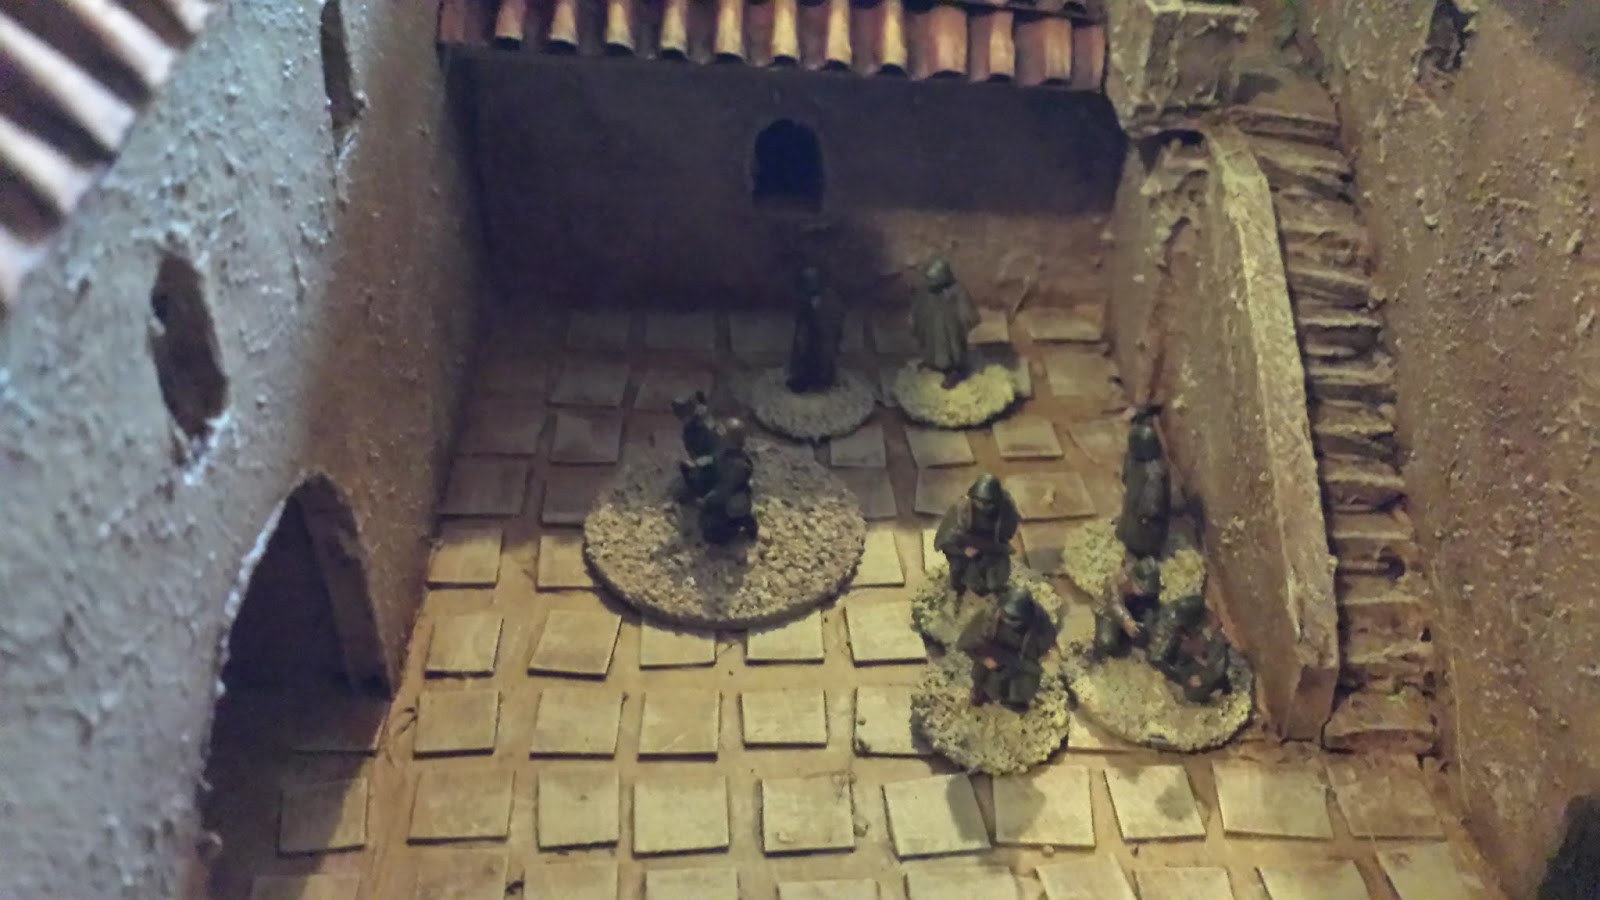
Republican soldiers take up positions inside the building and return fire.

Meanwhile the other Moroccan section is seen moving behind the drifting column of smoke.

They eventually clear the smoke and move to join the fight.


Knowing the second Moroccan section is on it's way, I deploy my final section near the livestock, hoping to pour enough fire to destroy the enemy in the Vineyard before reinforcements arrive.

The plan is rather effective, and the section dwindles dangerously.

Meanwhile the Panzer advances, getting dangerously close to my first JoP (the donkey).

The Moroccan infantry follows closely behind.


While the enemy is getting the worst of it, morale is starting to fall apart in the poor cover behind the wooden fence.

The AT gun's crew finally managed to connect with the Panzer!

The tank's commander was spooked by the hit, forcing it back, but not stopping it.

The Bilbao, along with a detached team of infantry riding inside, moves to pass the tank. My plan is to get a team of infantry (and the Bilbao's machine gun!) into the enemy's rear and threaten his JoPs just like he's threatening mine.

But I'm not able to stop Jamie from capturing this one... ouch, that's a hit to my morale!

The Moroccans on the hill rush into close range, hoping to make a desperate assault. My section opposing them is in just as rough shape by this point.

...partially due to the Panzer's machine guns catching them in enfilade!

As the Panzer shoots them from the side, the Moroccans open fire across the pasture.

Casualties mount on both sides, and take a toll on the livestock as well!

The first team breaks and runs back to the road.

My morale is now a dangerous 5 (we both started with 9), any more and I'm in serious trouble.

Much as he's trying to do with me, I move the Bilbao up, and start taking shots at the Moroccans slowly working their way into the fight. I'm hoping to bloody them before they get into the thick of it.

Finally, the Moroccans at the cow enclosure break and fall back up the hill. A victory, sure, but at great cost. What's left of the section that beat them can't expect to fight much more today (lots of shock).

With the Panzer still firing at the infantry, the AT Gun is able to take an irresistable shot against it's side armor.

Still a miss!

The Moroccan platoon sergeant, detaching himself from the near-destroyed section in the vineyard, moves to join the fresh section now approaching the battle.

While, more or less ignoring the AT Gun, the Panzer continues to fire at my infantry.

Another team breaks, leaving only the LMG team still able to fight, and that team is nearly pinned itself.

My morale drops to 4, and thus so do my command dice. Jamie still has his 6 dice, and a lead that it will be hard to break. Could this be the long-awaited victory for him?

Another shot into the side armor...


And this time it's enough! The tank is knocked out! However, Jamie is able to use one of his many CoC dice to avoid the morale loss.

Confident now that I can try to salvage the fight, I move my Bilbao up, turning the machine guns on some senior leaders that happen to be unattached from the main force.

This quickly turns to disaster, as Jamie gets a double run of phases, and uses it to full effect. A team of Moroccans rushes up into the hedges and begins tossing grenades. One rattles into the Bilbao's viewport and...

Boom! Driver is assumed killed as the infantry team inside pours out into the open.

The Moroccans use their second phase to rush the team...

...which immediately routs and falls back, pinned down behind some bushes. My morale has fallen to a 2 by this point, giving me very little to work with. Victory seems impossible, but I'm now fighting for a draw. According to the scenario, if Jamie breaks me before he gets a figure into base contact with the farmhouse, it's a draw. But my opponent is no fool...

Ignoring the pinned team, the Moroccans begin to cautiously, but rapidly, move down the road. There's little to stop them.

The AT Gun's crew desperately shoots at them, but with morale nearly broken, they can't coordinate their fire with the rest of the platoon.

There's one able to stop the Moroccans from rushing up under the windows of the defenders.

The Moroccans turn on the AT Gun and charge.

It goes exactly as one would expect.


With the gun knocked out, Republican morale drops to zero for a complete Nationalist victory.
Congrats Jamie, and well played!


Excellent battle report and a nice looking set up.
ReplyDeleteChris
Thank you!
DeleteI've enjoyed most this beatifully illustrated report, thanks for sharing!
ReplyDeleteThanks for reading!
DeleteBy a quirk of fate I am actually typing this right by the highway one of the columns from Ronda used to advance on Málaga. I suspect they didn't have the luxuries of shade, ice cream and coffee though. ;-)
ReplyDeleteThe 2" mortars were only meant to be a step up from the rifle grenades they were supposed to replace, so don't expect too much from them.
In theory they and the LMGs should pour fire onto a single key point, allowing the rifle teams to close for the assault.
On their own they are not much use though, I agree.
Nice-looking game and a great report as always!
Ha! That's a great synchronicity. Enjoy the coffee before the Regulares come and take it from you.
DeleteMakes sense, regarding the mortars. They might have been more effective if I hadn't needed to split my command dice with other support options. Next time!
I think their taking of my coffee would be the least of my worries in that situation. :-|
DeleteThe need to be flexible and to be able to prioritise, is one of the most endearing, yet infuriating aspects, of CoC and is one of the reasons why I love it as a rule set.
Agreed on both counts!
DeleteGreetings Prima,
ReplyDeleteI ran across this blog and thought you would like it.
http://scrivsland.blogspot.co.uk/search/label/Spanish%20Civil%20War?m=1
Regards
Oh yes, Scrivs' blog inspired me to go all out with my SCW terrain. An excellent resource. Thanks though!
Delete