


I finally got my militiawomen and militiamen painted up and ready for action. I don't quite have enough to field a full platoon, so they're being "stiffened" with some Civil Guard for the time being. Time to see how they play on the table. I've been warned by those who would know that militia are difficult to play given their lack of command assets and general fragility. Let's see how they work!

Briefing:
On July 17th, the Rebel generals began their coup in Morocco and strategic cities and towns in Spain itself.
While taking Morocco was a
given, the rebels faced a harder time on the Peninsula than they were
expecting, no thanks to the Popular Front Government in Madrid.
Marxist trade unions and political organizations called for the arming
of the populace, as to them the military coup was proof that the army could not
be trusted. Prime Minister Casares Quiroga turned down the offer of assistance
from these groups the day after the coup began, believing that the rebel
officers could be dealt with by existing forces, and that the coup would not
succeed in Spain
itself.
The leftist
trade unions Confederación Nacional
del Trabajo (CNT) and Unión General de Trabajadores (UGT) declared a General Strike on the 18th in response,
effectively mobilizing their forces. They either broke out weapons caches which
they'd retained from previous times of trouble or else seized weapons from
government controlled armories and tried to stop the rebel coup themselves.
Cordoba fell quickly to the Nationalist
Rebels in the first few days of the coup, the Military Governor Ciriaco
Cascajo being part of the conspiracy to overthrow the newly elected government.
Arresting the civilian governor and with his lapdog "Don Bruno" began
bloody reprisals against the 'reds' among the populace. Two thousand people
were killed in the first weeks.
With such
ruthlessness, the loyalist elements and leftist militias were unable to put up
a fight and Cordoba
fell almost completely. However, on the outskirts the rag-tag militia did a
little better. With some help from loyal members of the paramilitary Guardia Civil (most of whom sided
quickly with Cascajo and Bruno), they gathered some small arms from the Guardia
station and determined to do what they could to prevent further gains by the
rebels in the area. Seizing a delivery of weapons intended to reinforce
Governor Cascajo in Cordoba, they now stubbornly
hold the road to Seville.
The Governor, needing to link up with the other rebel officers, orders Don
Bruno out with a company of Peninsular Army to destroy the undisciplined reds and open the way for
Franco and the other rebel officers which are flying into Seville on German
planes from their bases in Africa.
Will the
brave milicianos hold out and frustrate the rebel plan, or will they give way
before the cruel Don Bruno?

The scenario is "Attack/Defend" from the CoC book, and my militia is facing a "peacetime" force of Peninsular Army, untested in battle, but loyal to Governor Cascajo and the Rebel Generals.
Rolling for force morale, Fritz and I got opposite rolls on the die. He ended up with 8 morale to start, while I had an ungodly 11. We both had -2 to the die initially for being Green, but I declared that I was taking "Highly Motivated Militia" which turns that -2 into a +1. Thus, I ended up with an unbelievable 11 morale. These militia were going to be hard to drive off.
The patrol phase went very well for the militia. The army gets 4 free moves, but has to start on the table edge, while the defenders get to start 18" in. Fritz, playing the Nationalists, kept his four markers in tight formation, trying to take the center of the board. We locked down very quickly. He ended up with three jump off points very close together. One behind the fence at the top of the vine-planted hill, one in the field behind a hedge, and the last at the table edge behind the field.

Mine were much further apart, possibly too far. One was near the large barn...

Another at the center, behind a stone wall at the bottom of the vine-planted hill.

And the last was inside the house on the far left. Useful in presenting a wide front, but as it turned out, these points couldn't easily support each other.

The enemy jump off points. The third is just barely visible (a wheel) at the top left.

Rolling for support saw Fritz got 7 points for his Peninsular Army. I got half that, plus an additional +9 due to the difference in the quality of our forces, allowing some serious upgrades. Knowing I'm limited to only 4 command dice to Fritz's 5, I refrained from taking lots of extra units that might never activate.
I took: 'El Hombre', an Adjutant, a roadblock, molotov cocktails, LMG for a squad, a MMG for a squad, and upgraded the platoon to "Highly Motivated Militia". I also bought a Bilbao armored car, which was the first thing I was able to deploy onto the table.

Fritz took a UNL-35 Armored Car (yes, I know its anachronistic, but I didn't have any Tiznao vehicles), two LMGs, and a 70/16 Field Gun. The roadblock once again turned out to be one of the game's MVPs. Due to the heavy hedge on the left and the stone wall on the right, Fritz had an unenviable choice to make when he deployed the armored car. Try to cut across the fields (slowly), and spend many phases trying to find a good position, or drive right up to the roadblock and park there, essentially making the car into a stationary gun. He chose the later.

The field gun also came on, hoping for a shot at the Bilbao.

The barn on the Militia's right had a solid line of sight from all of its windows to the army's jump off point at the top of the hill. So, I deployed a section, including the MMG, into it, along with my senior leader, who I made sure to place downstairs and out of line of sight of the enemy. As the front of the building is open, we allowed him to still give orders, but he was considered "unattached". This, I think, is the key to winning as militia. Don't let your one leader die.

The Bilbao moved up and began a long range duel with the field gun.

Doing some damage...

It also found a better parking spot, giving it a clear view of the enemy gun. It also had the advantage of totally blocking the UNL-35's line of sight to a very large extent.

In short order, the field gun crew was pinned, making it very difficult to actually kill the car. It reserved its fire for the house, wherein I'd deployed another section.

With both the field gun and the armored car concentrating fire on the farmhouse, I made a call and decided that it was pointless to try and stay inside the building. I moved them outside, out of line of sight of both the car and the gun.

Fritz brought on his main leader to shore up the gun, chipping away at its shock.

And then deployed both of his main sections at once. One among the vines at the top of the hill...

And the other in the field nearby. As his army was rated green as well, he had a hard time achieving good frontage on deployment (4" from the JoP doesn't give you a lot of space).

Both sections took aim at the militia which had recently vacated the farmhouse to significant effect. As they caught the section in the open, it took extra shock (part of the militia rules).


Needing to cover them, I brought a section on at the center, backed up with an LMG, hoping to divide the enemy's fire.

With that section firing, backed up with the MMG on the right, the section at the top of the hill was in for a rough time.

Meanwhile, I sent my farmhouse section back into hard cover, where they immediately came under fire from the gun again, pinning them. At this point, with no leader attached and my senior leader entirely across the table, I knew this section was out of the fight.

The firefight largely stayed at effective range, with bullets whipping through the vines. With my advantage in cover (the stone wall), I felt confident that I'd win the firefight in the long run, even if it cost me.

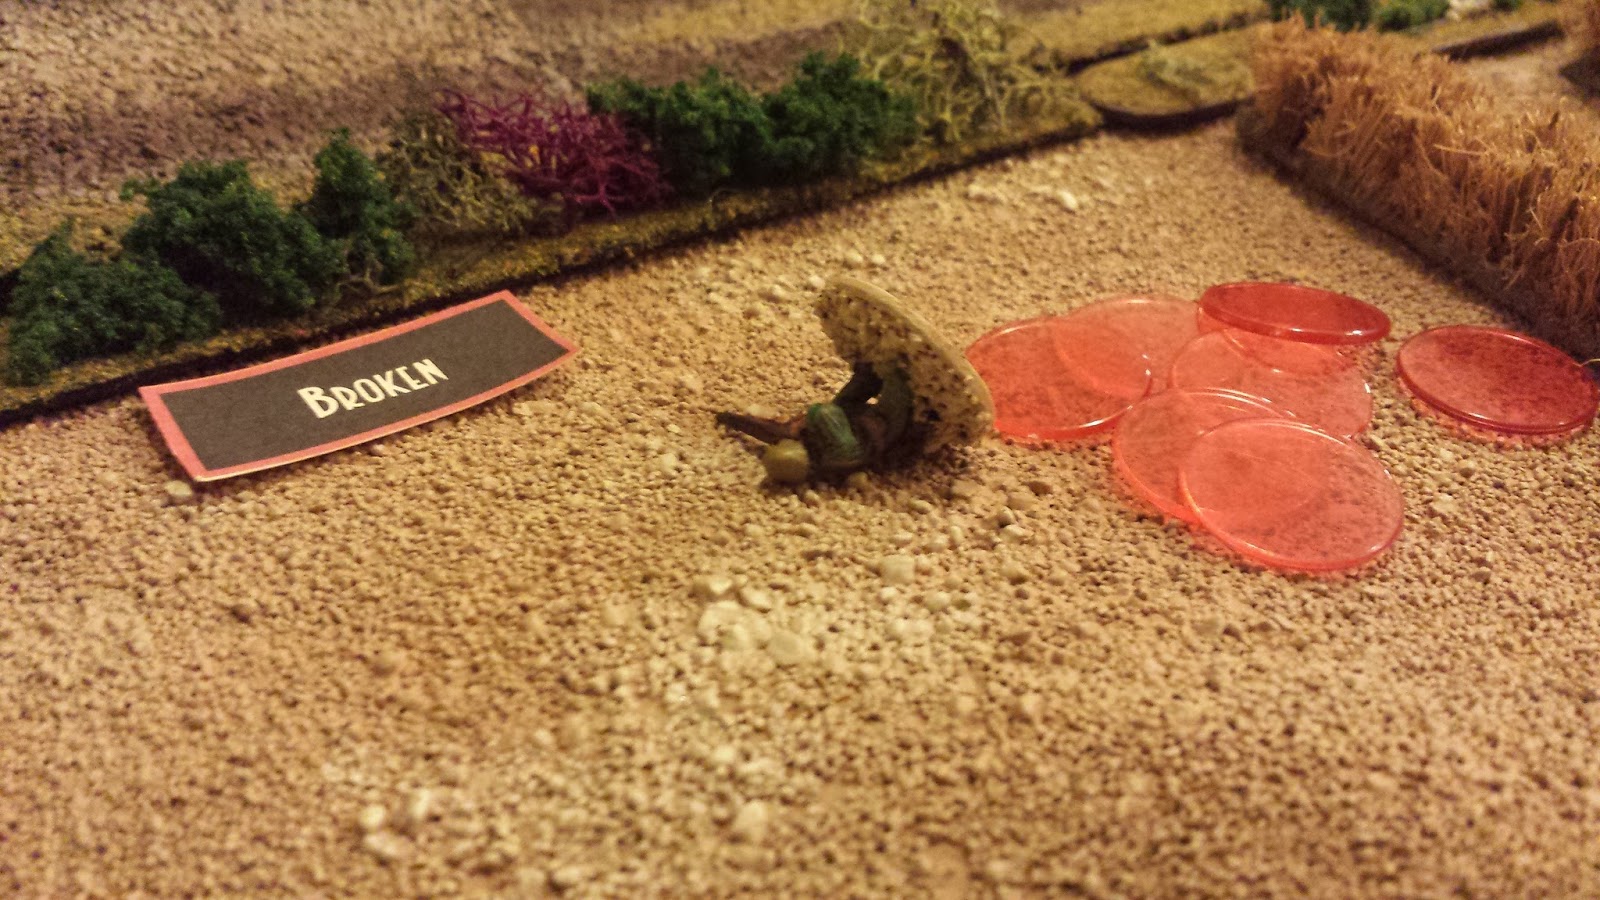
The section in the farmhouse, reduced to three men (well, one man and two women), finally broke and made a run for it, costing me a force morale point. I was still two higher than my opponent.

I focused all of my fire on the top of the hill.

And with the amount of fire being thrown down, it really started to mess them up. Two of the three teams were pinned, and the LMG was firing at -2 dice. Worse, the junior leader was knocked unconscious for the rest of the turn, so there was no one to manage shock (also a morale hit). He was forced to deploy his second senior leader to deal with the shock.

At this point, Fritz realized the trouble he was in and said something to the effect of "that damned hill is going to cost me the whole battle". I got a double phase, and pounded the hell out of them, triangulating my fire from three sources. The Bilbao on the left with its MG, the section firing from the barn on the right with its tripod-mounted MMG, and the section at the bottom of the hill with a LMG. The sheer volume of dice was breathtaking. Especially as they were all firing on green troops into the light cover of vines and fences.

Fritz followed suit and concentrated fire on the section at the bottom of the hill, which appeared to be the weak link (and it was).


Thankfully, I'd kept my last section in reserve and moved them into the same area to bolster the line. It was clear that the first section there was going to break soon enough.

Yet one of the army's teams broke first, dropping their morale to a 6.

In the return fire, the inevitable happened...

The pinned section at the center finally broke, making for the rear.

However, the other section had no shock, and replaced them on the line. With Fritz's section on the hill rapidly breaking, he wouldn't be able to bring quite as much firepower to bear.

Realizing his predicament, he started going after the broken sections, hoping to wipe them out and force more morale roles. We noticed something interesting about the militias - no leaders and no subteams means that a destroyed section only forces a maximum of 2 rolls for morale, while a destroyed army section (which is admittedly far more robust) forces a maximum of 10 rolls. With my morale as strong as it was from the start, Fritz really needed to wipe out those broken teams in order to have any hope of winning.


Finally, the army section on the hill fragments, a second team breaking. His senior leader takes a wound in the fight, and the broken team contains both the wounded senior leader and the unconscious junior leader. This forces a massive loss of morale. Fritz moves to withdraw the LMG team to prevent more hits to morale.

Fritz is now at 3 force morale. The scenario specifies that he needs to break the defender and retain at least 3 morale. If he loses any more, the game is over.

Desperate, he tries to pick of more broken soldiers.

He successfully wipes out a section, dropping my morale to a 7.
With hill vacated, the barn on the right has no line of sight on the enemy. The hill utterly blocks their view. As two of my sections are out of the action, and one still taking fire in a weak position, I can't afford to have my last section (or the MMG) out of the action. I order them out of the building.

The section on the bottom of the hill is starting to show signs of wear.

Don't worry comrades, we're coming!

The army continues to shoot down anyone who runs. Do we have commissars hidden among them?

Seeing me vacating men from the barn, Fritz puts the remaining LMG team from the broken section on overwatch, covering the hill.

I get a double move, and make a run for it. The LMG cuts down a Guardia, and delivers significant shock to the team.

The MMG is slower, and still has no LoS. My senior leader is still holding back. No one likes being shot at.

But then I realized that the game was already over. I had a full chain of command die, and Fritz had a junior leader in a broken team. I used the CoC die to end the turn, causing the team and the leader to rout from the board, forcing another morale check, which cost him two points, dropping him to an abysmal 1, and making the scenario unwinnable. I still retained 7 morale, so the militia definitely retained control of the Seville-Cordoba road, making life for Don Bruno and his allies a little harder.

¡Viva la Revolución!

This battle provoked quite a bit of thought in me, bringing up questions about game design re: militia and tactics while playing them. I'm hoping to share my very inconclusive thoughts in another post soon.


