

Lincoln Battalion platoon leader Lt. Al Monroe of Chicago surveys the scene... The patrol phase could have gone better, but it leaves us with three jump off points favoring the right side of the board. Jamie's Nationalists secure two points in the left rear, and one inside the cemetery itself. I've played this scenario twice and Jamie has read the reports and is trying some new tactics and support choices.

I have my two free T-26 tanks (thanks Mother Russia!), a tripod-mounted MMG team, a field gun, and a LMG for a team.

Jamie decided to spend most of his support on an off-table field gun battery, and some molotov cocktails. The artillery was selected in the hopes it might do damage to the tanks, although the chance of that was pretty minimal.

The observers come on the table immediately, backed up by the section sergeant to activate them if needed. The sergeant hides behind the bunker, separated by the closed door. He can spend all three activations to move inside, activate the observer team, and then head back out.

Still, I might as well take the shots, as unlikely as I am to kill an observer team in a bunker.

My tanks separate, one on each side of the fortified line, but both shooting at the bunker to little effect.

The artillery calls in the barrage. The tank crew is unharmed, if a bit rattled.

The turn immediately ends, but the Nationalists call in another barrage, this time on the other tank. The tankers however just pour on the gas and move flat out to exit the barrage area.

I've been taking it slow, but not as slow as Fritz did in our version of the campaign. I wait for my first chain of command die, and when it is followed by a double phase, I make my move. I debated waiting on another CoC die, but decided not to court the possibility of my opponent using one to ambush me. The tank moves flat out and, crushing the barbed wire, ends within 4" of the enemy Jump Off Point, rendering it useless. The trench is undefended!

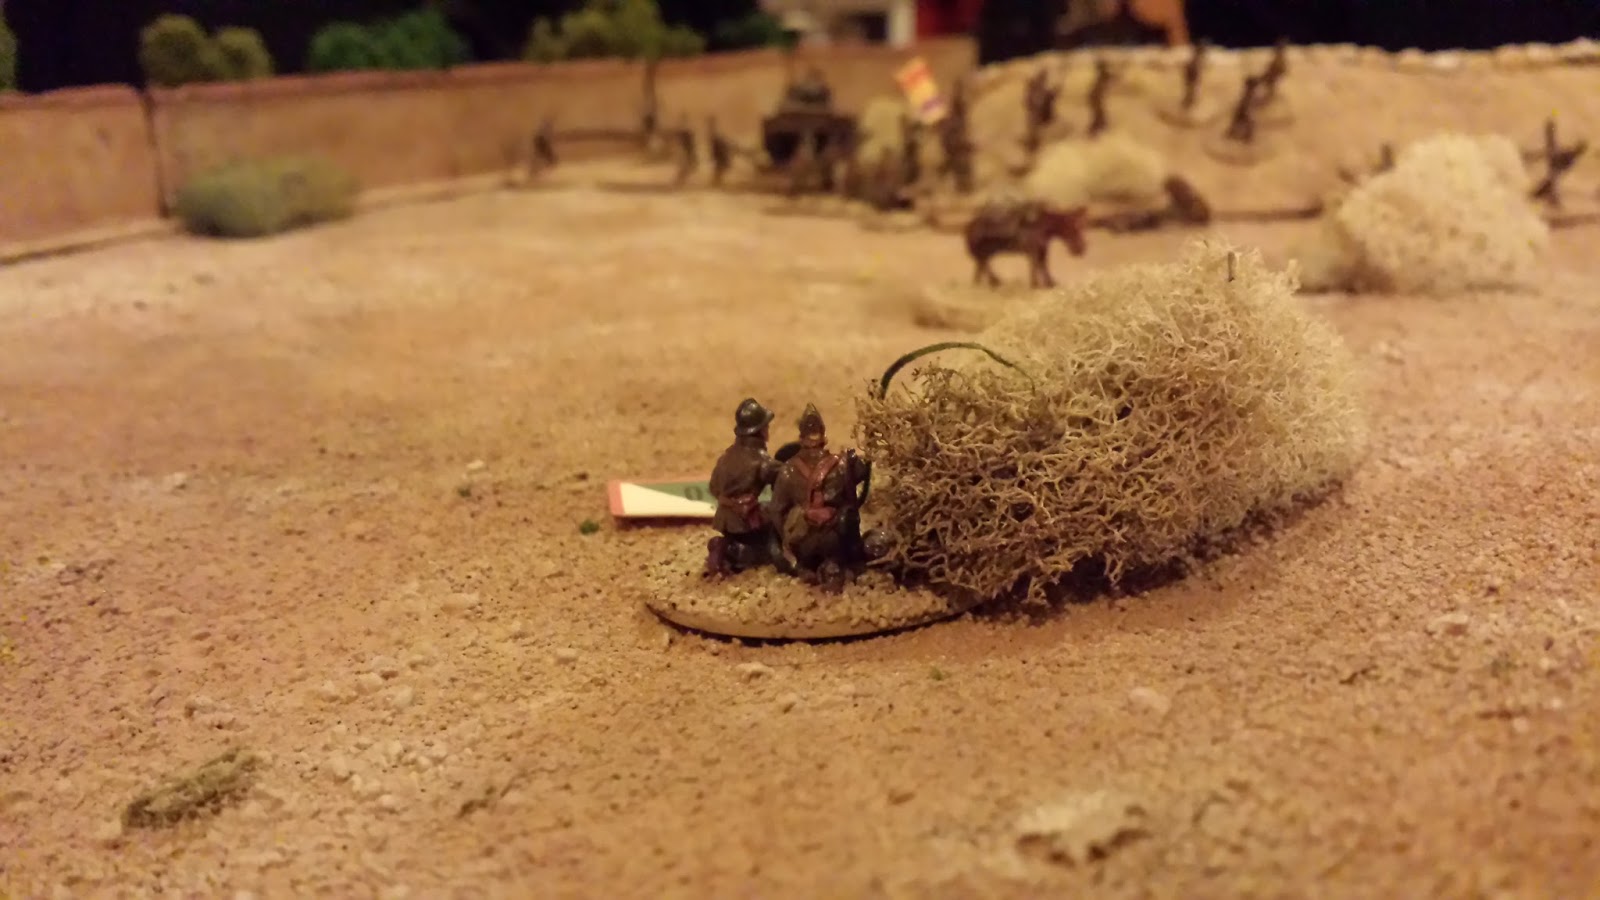
The first section of the Lincolns, led by Sergeant Adrian Goran (another Chicagoan), rushes up behind the tank, making the best use of cover.

Unable to deploy into the trench, the fascists appear behind the cemetery wall, throwing a few grenades over it.

Their second section appears in the very crowded bunker. And opens fire. Unfortunately for them, the limited frontage on the bunker's side slits limits them to 3 shots at a time.

It is enough to kill one Lincoln, my first casualty of the campaign.

With his men in the bunker revealed, my concealed field gun starts firing on the bunker. Field guns, reducing cover by 1, are natural bunker killers.

Pouring fire on the structure, the gun produces several casualties.

Meanwhile, 2nd Lt. Monroe joins his men as they climb the hill into the trench. Unfortunately, I rolled terribly for movement and they don't make it inside, forced to spend another phase in the open.

...with predictable results.

Not everyone in the section can fit inside the bunker, so Jamie creates a team out there which fires into the trench.

My real worry is the men on the other side of the wall. If they are allowed to cross easily, I might face an assault from two sides. I deploy the MMG, and put them on overwatch, facing the wall. If his men try to climb it, they're going to be cut down in the open when they land on the other side.
Meanwhile my men take the trench. The LMG takes position covering the bunker. Although the bunker is superior cover, the LMG and larger frontage means I'll be able to bring more fire to bear than the enemy will.


The LMG team slaughters the team outside the bunker...

...while the field gun pounds it from the front. The Nationalists are starting to take heavy casualties.

Trying desperately to open the way for the men in the cemetery, they shoot at the MMG team, killing a man. It's not enough.

Shock and casualties continue to accumulate inside the bunker.The section sergeant takes a wound, causing a morale hit.

The fascist requetes have had enough, and Jamie gives the order to withdraw. He acknowledges that there's no way he can retake that trench. The final butcher's bill is 10 Nationalists killed or wounded, versus four Lincolns. The Lincoln C.O., the cerebral Serbian-American Captain Zoric, is clearly pleased with Lt. Monroe's performance, as are the men. Lt. Monroe's outlook remains thoughtful however, he knows there's a long way to go. The Nationalist platoon leader meanwhile feels his C.O.'s anger, and also feels his previously sanguine relationship with his men slip away (+1 to 0) due to his large losses.

As I gave ground on board 2 in the campaign with Fritz, I'm excited to get a chance to play it with Jamie next time.
No comments:
Post a Comment